


Return to The Repair Shop
We were pleased to see Plasti Dip featured again on the popular BBC program, The Repair Shop, on April 23rd. For those who missed it,

On this page, we’ve gathered together all the resources you’ll need to help make a great job of your Plasti Dip project.
Don’t forget if you get stuck you can always drop us a line info@plastidip.co.uk or join the Plast Dip UK ‘Dipheads’ customer group on Facebook for peer support. Please read the group guidelines.
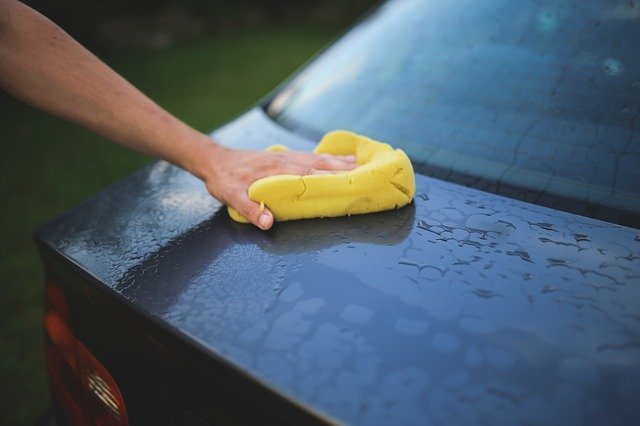
It is essential to ensure the surface is squeaky clean, grease, dirt, debris and contaminant free and thoroughly dry before coating.
Pay particular attention to the sills, trim, gutters, grills and any tight or hard to get to corners and gullies you would not normally treat. Also, ensure all water is removed from these areas before spraying.
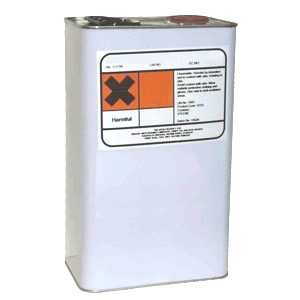
All traces of previous wax or silicone residues from cleaning products must be removed with the correct de-greaser. Wash only with hot water as some soap detergents contain residues that Plasti Dip may not adhere to. Never use any petroleum, citric, alcohol or solvent-based cleaning or care materials on Plasti Dip.
Care should be taken with Petroleum avoiding any spillages onto the finished coating, ensure to wipe off any spills straight away.
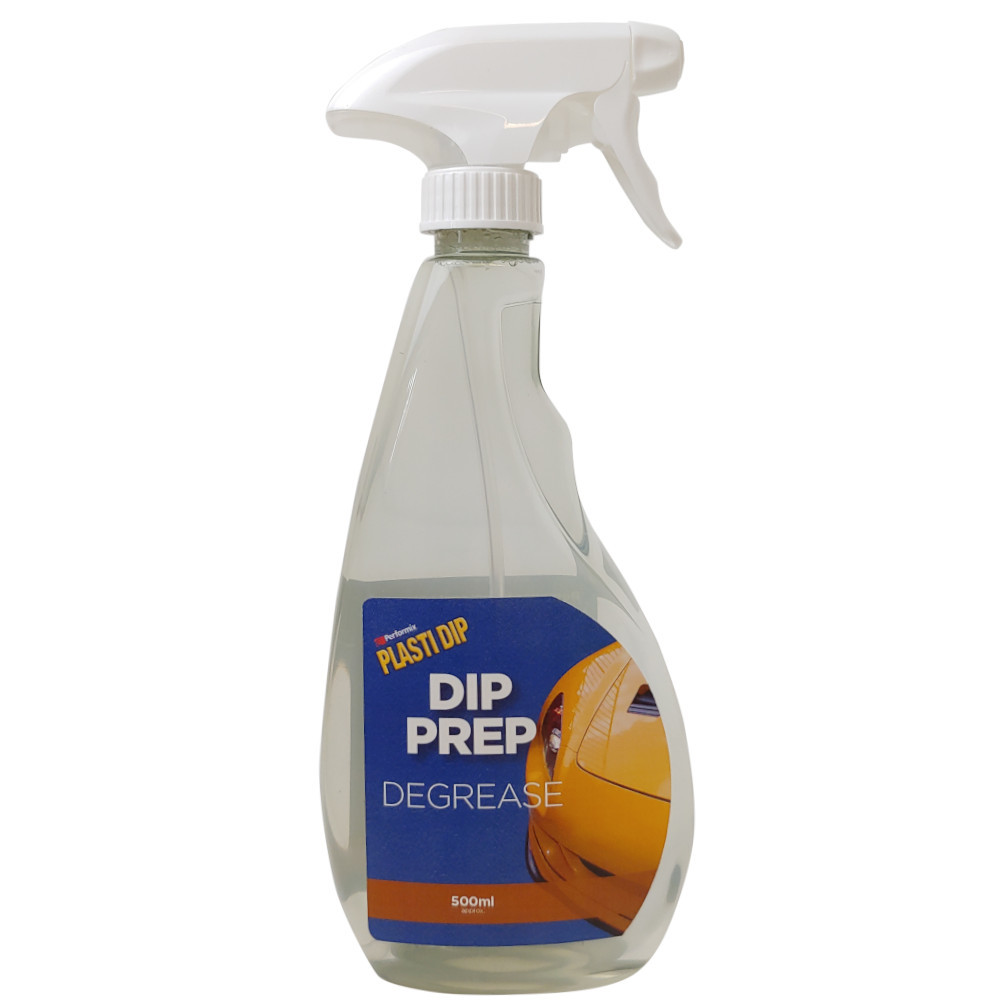
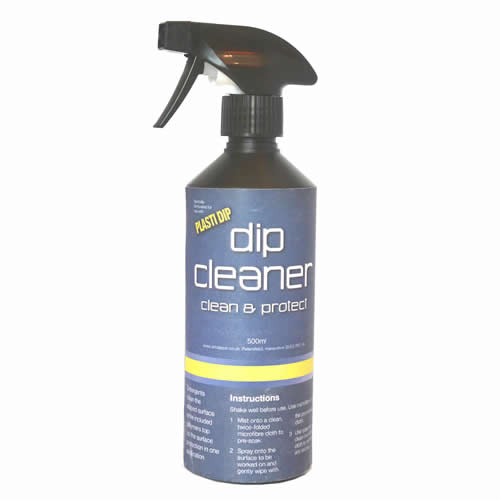
Clean large areas with Panel Wipe and make sure everything is thoroughly dry. Small areas can be cleaned with Dip Care Prep Degreaser.

We recommend a Wagner Earlex MS2901 Pressure Pot spray gun or similar, available from Amazon/eBay etc with a tip size of 1.4 -1.5mm. For professional users, look at the range from DeVilbiss
You can buy Plasti Dip ready mixed as a sprayable liquid or use regular Plasti Dip with thinners (up to 50%, up to 10% for top coats).
For a professional fine finish, Plasti Dip liquid should be filtered first. For best results, the temperature of the spraying area should be between 10°c and a maximum of 27°c.
Apply the first coat as a mist coat and gradually build up the layers. Layers are touch dry and re-coatable in 30-45 minutes at 16-22°c and totally cured/dry 24-48 hours depending on temperature. Increase drying times in colder conditions.
• WARM THE CAN – In cold conditions, place aerosol in warm water (approximately 21°c) for 10-15 minutes before use
• SHAKE – well before and during use
• TEST SPRAY – Do a test spray on a sample piece prior to application.
• KEEP YOUR DISTANCE – Hold can 15-25cm from the surface when spraying, keeping your hand moving back and forth across the surface while spraying
• BETWEEN COATS – Allow 30 minutes minimum.
• DRY – Allow 4 hours minimum drying time before use
You can dilute with Plasti Dip thinners up to 25%. Gently mix before each use without introducing air bubbles.
We were pleased to see Plasti Dip featured again on the popular BBC program, The Repair Shop, on April 23rd. For those who missed it,
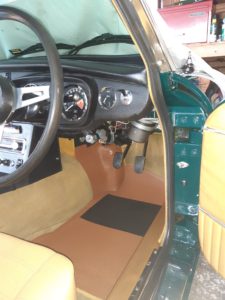
When refurbishing vintage cars, it can be a nightmare trying to find interior parts that match the colour of the cars original interior. That’s where

In these hot summers, garden sunshades and umbrellas are essential for keeping cool during the weekend BBQs. But when left unused throughout the rainy seasons,
Copyright © Plasti Dip UK Ltd, 2026. All rights reserved.