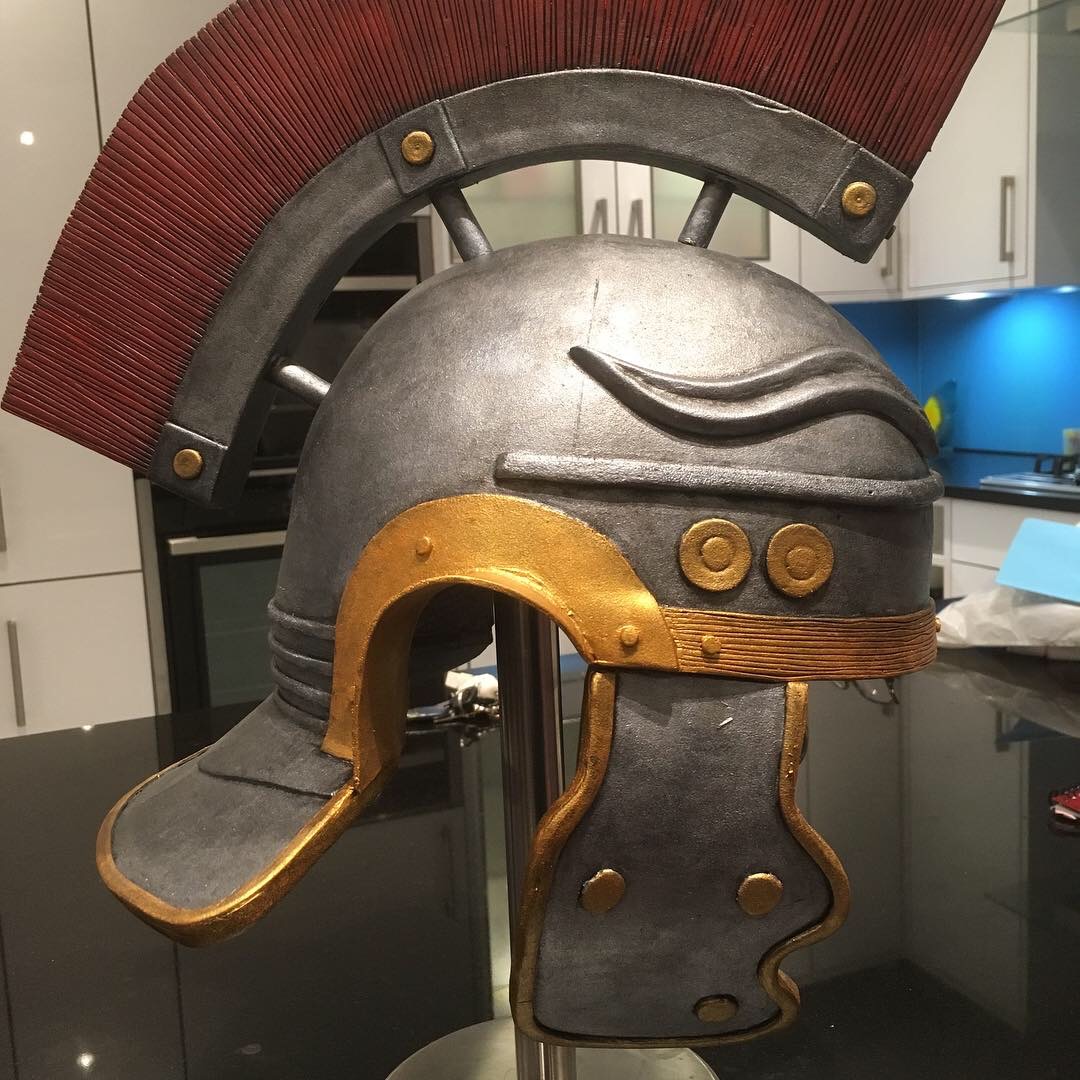
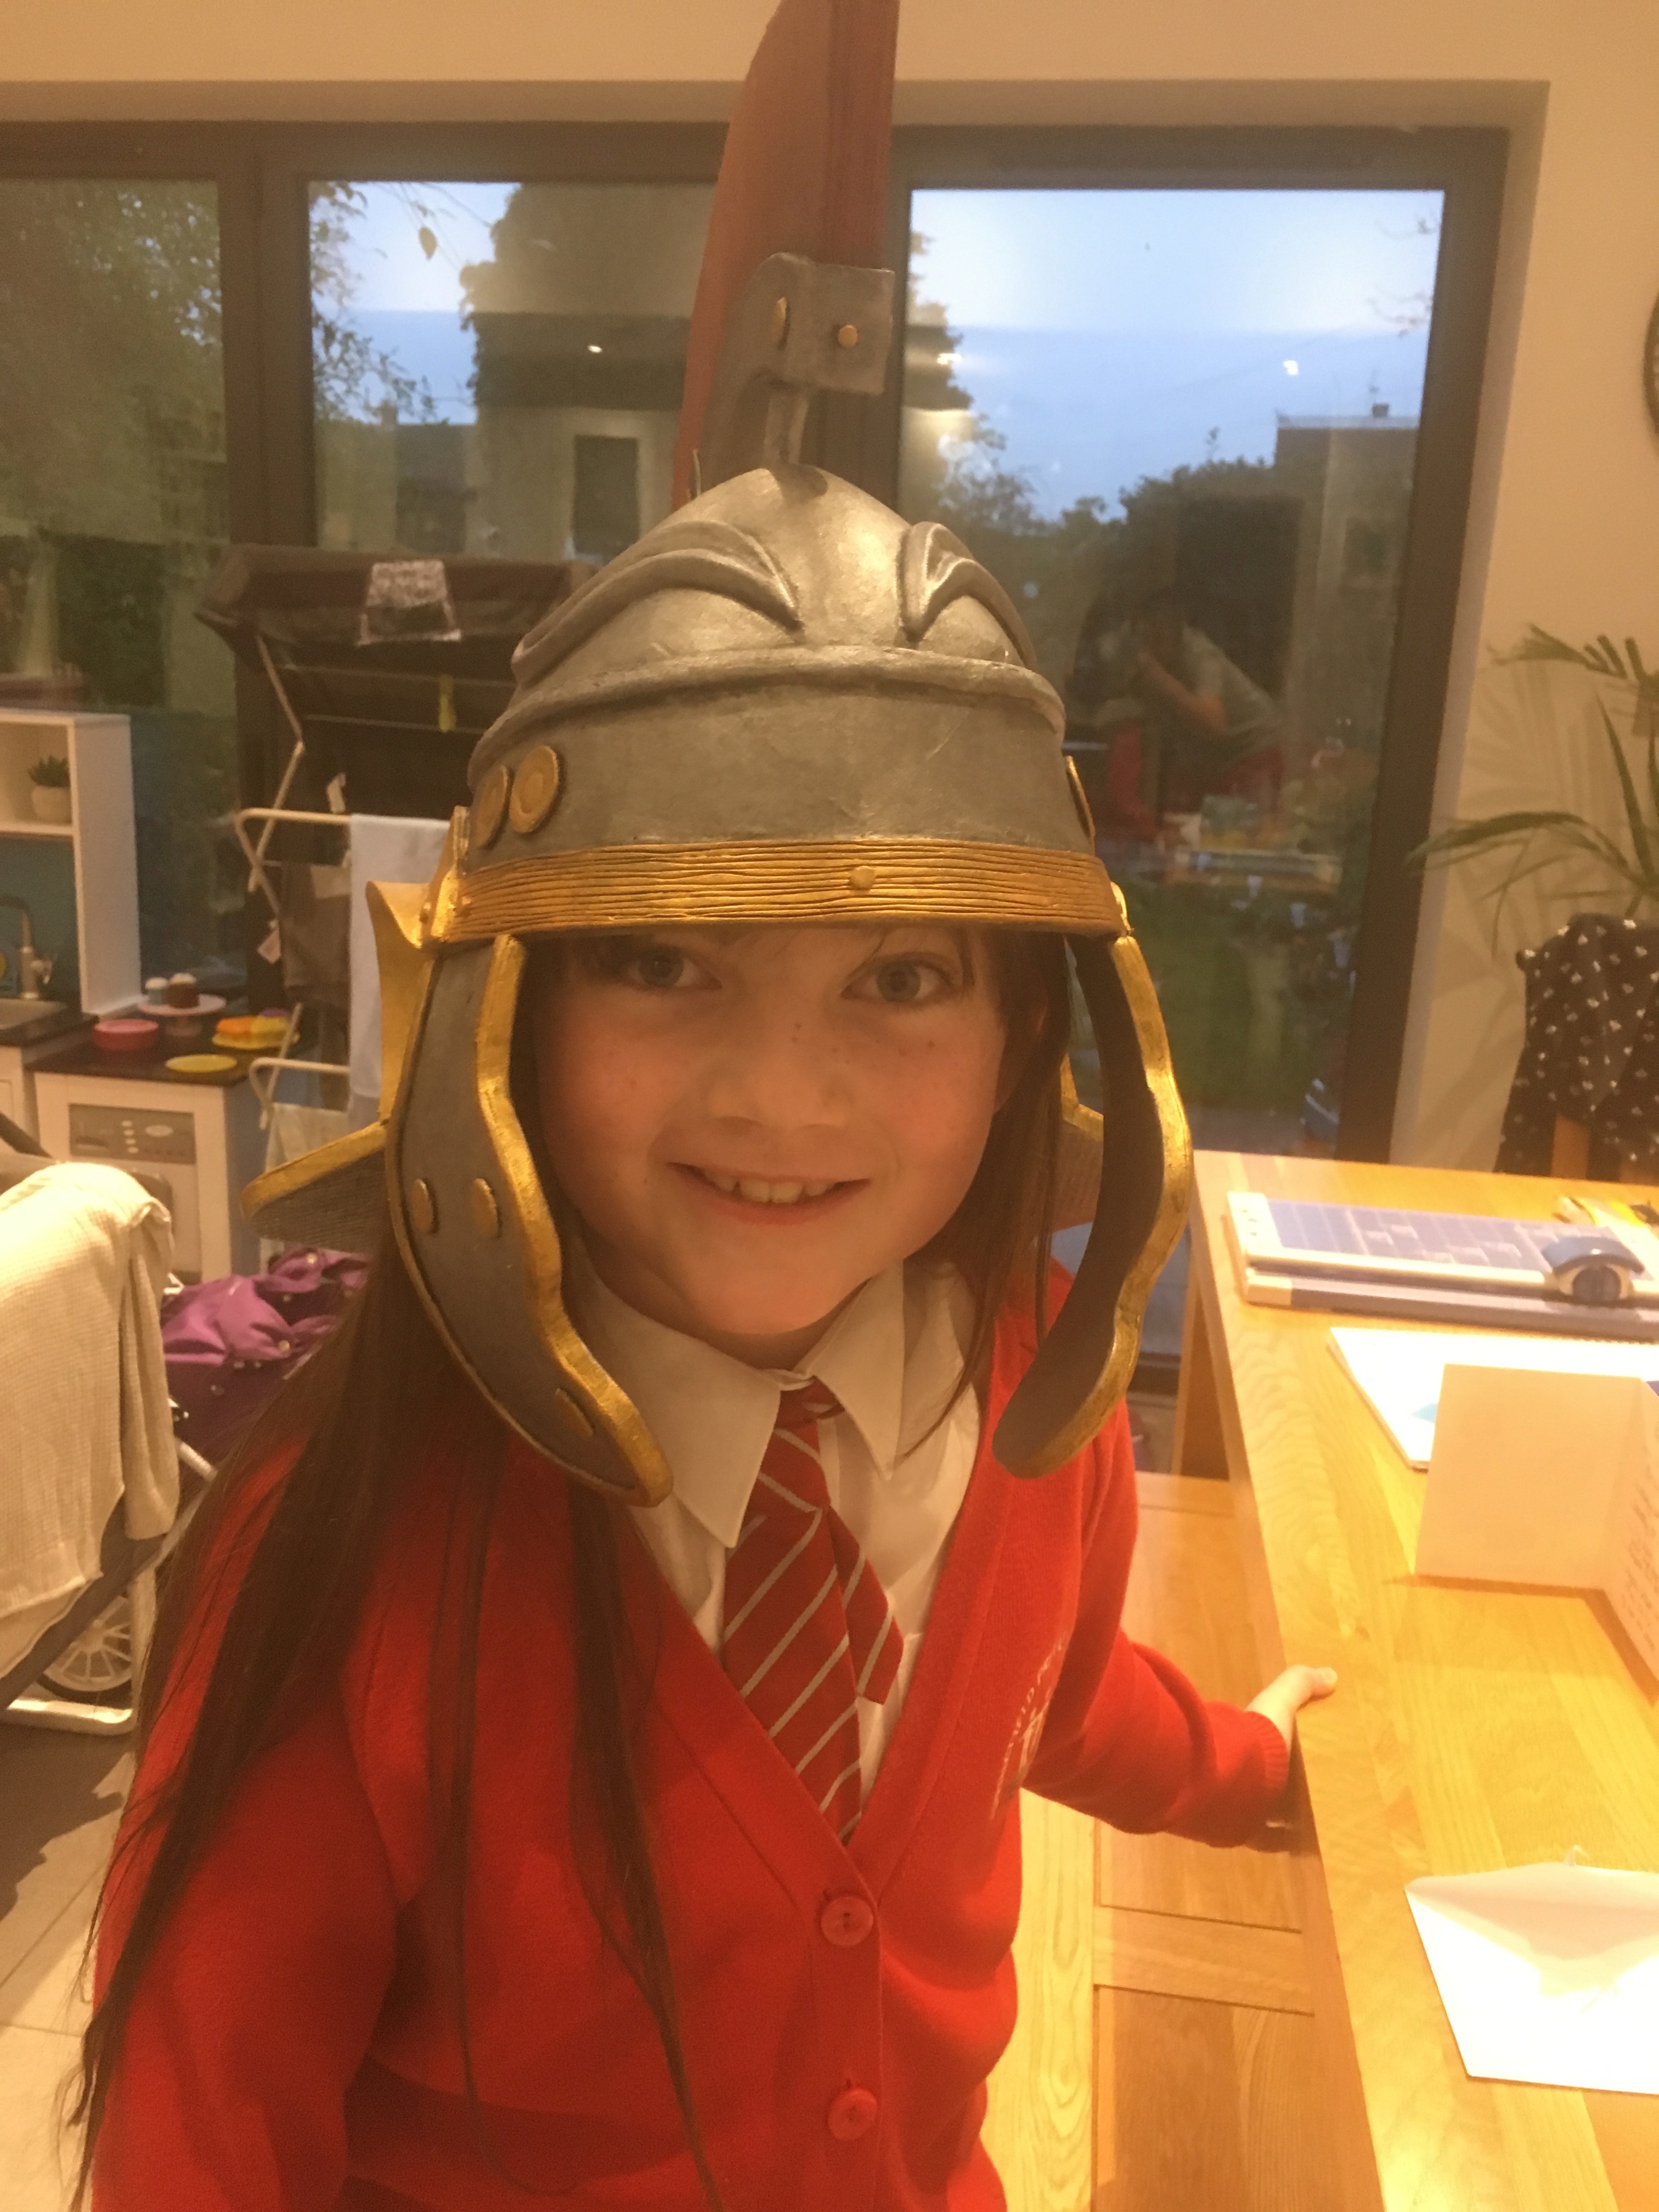
A fantastic replica helmet made from foam and coated in Plasti Dip recently caught our eye on Instagram, so we got in touch with its creator Denny to find out more…
What inspired you to create a Viking helmet?
My daughter would moan at me if I didn’t say it’s a Roman Helmet (although it has come from a template for a Viking Helmet). I wanted to start a new hobby and this sort of thing was suggested to me after I made my other daughter a She-Ra sword for a fancy dress party. I was going to have another crack at a sword but I noted that Bethany’s topic at school was set to be on Romans.
Is this the first time you have made something like this?
Yes, this was the first time I tried anything like this, but I had enjoyed crafty kind of things when I was a kid (which is quite some time ago now). I had watched loads of videos from the likes of Punished Props and Evil Ted and honestly thought it would be too hard and the end result would be rubbish.
Can you tell us a little bit about the process you went through to create it?
I watched loads of videos from Punished Props and Evil Ted before starting anything practical. Certain videos I ended up watching a couple of times to get a proper understanding of the technique used etc..
I then search the internet for some plans/templates, which I could not find. Evil Ted answered a Tweet I put out and advised that I use his Viking Helmet Template as a starter and go from there. In one of his videos he stated that he is frequently asked how to solve this or that problem – so I took that on board and figured out what I needed to adjust the build to suite my requirements. I gathered up a few reference photos and set to work.
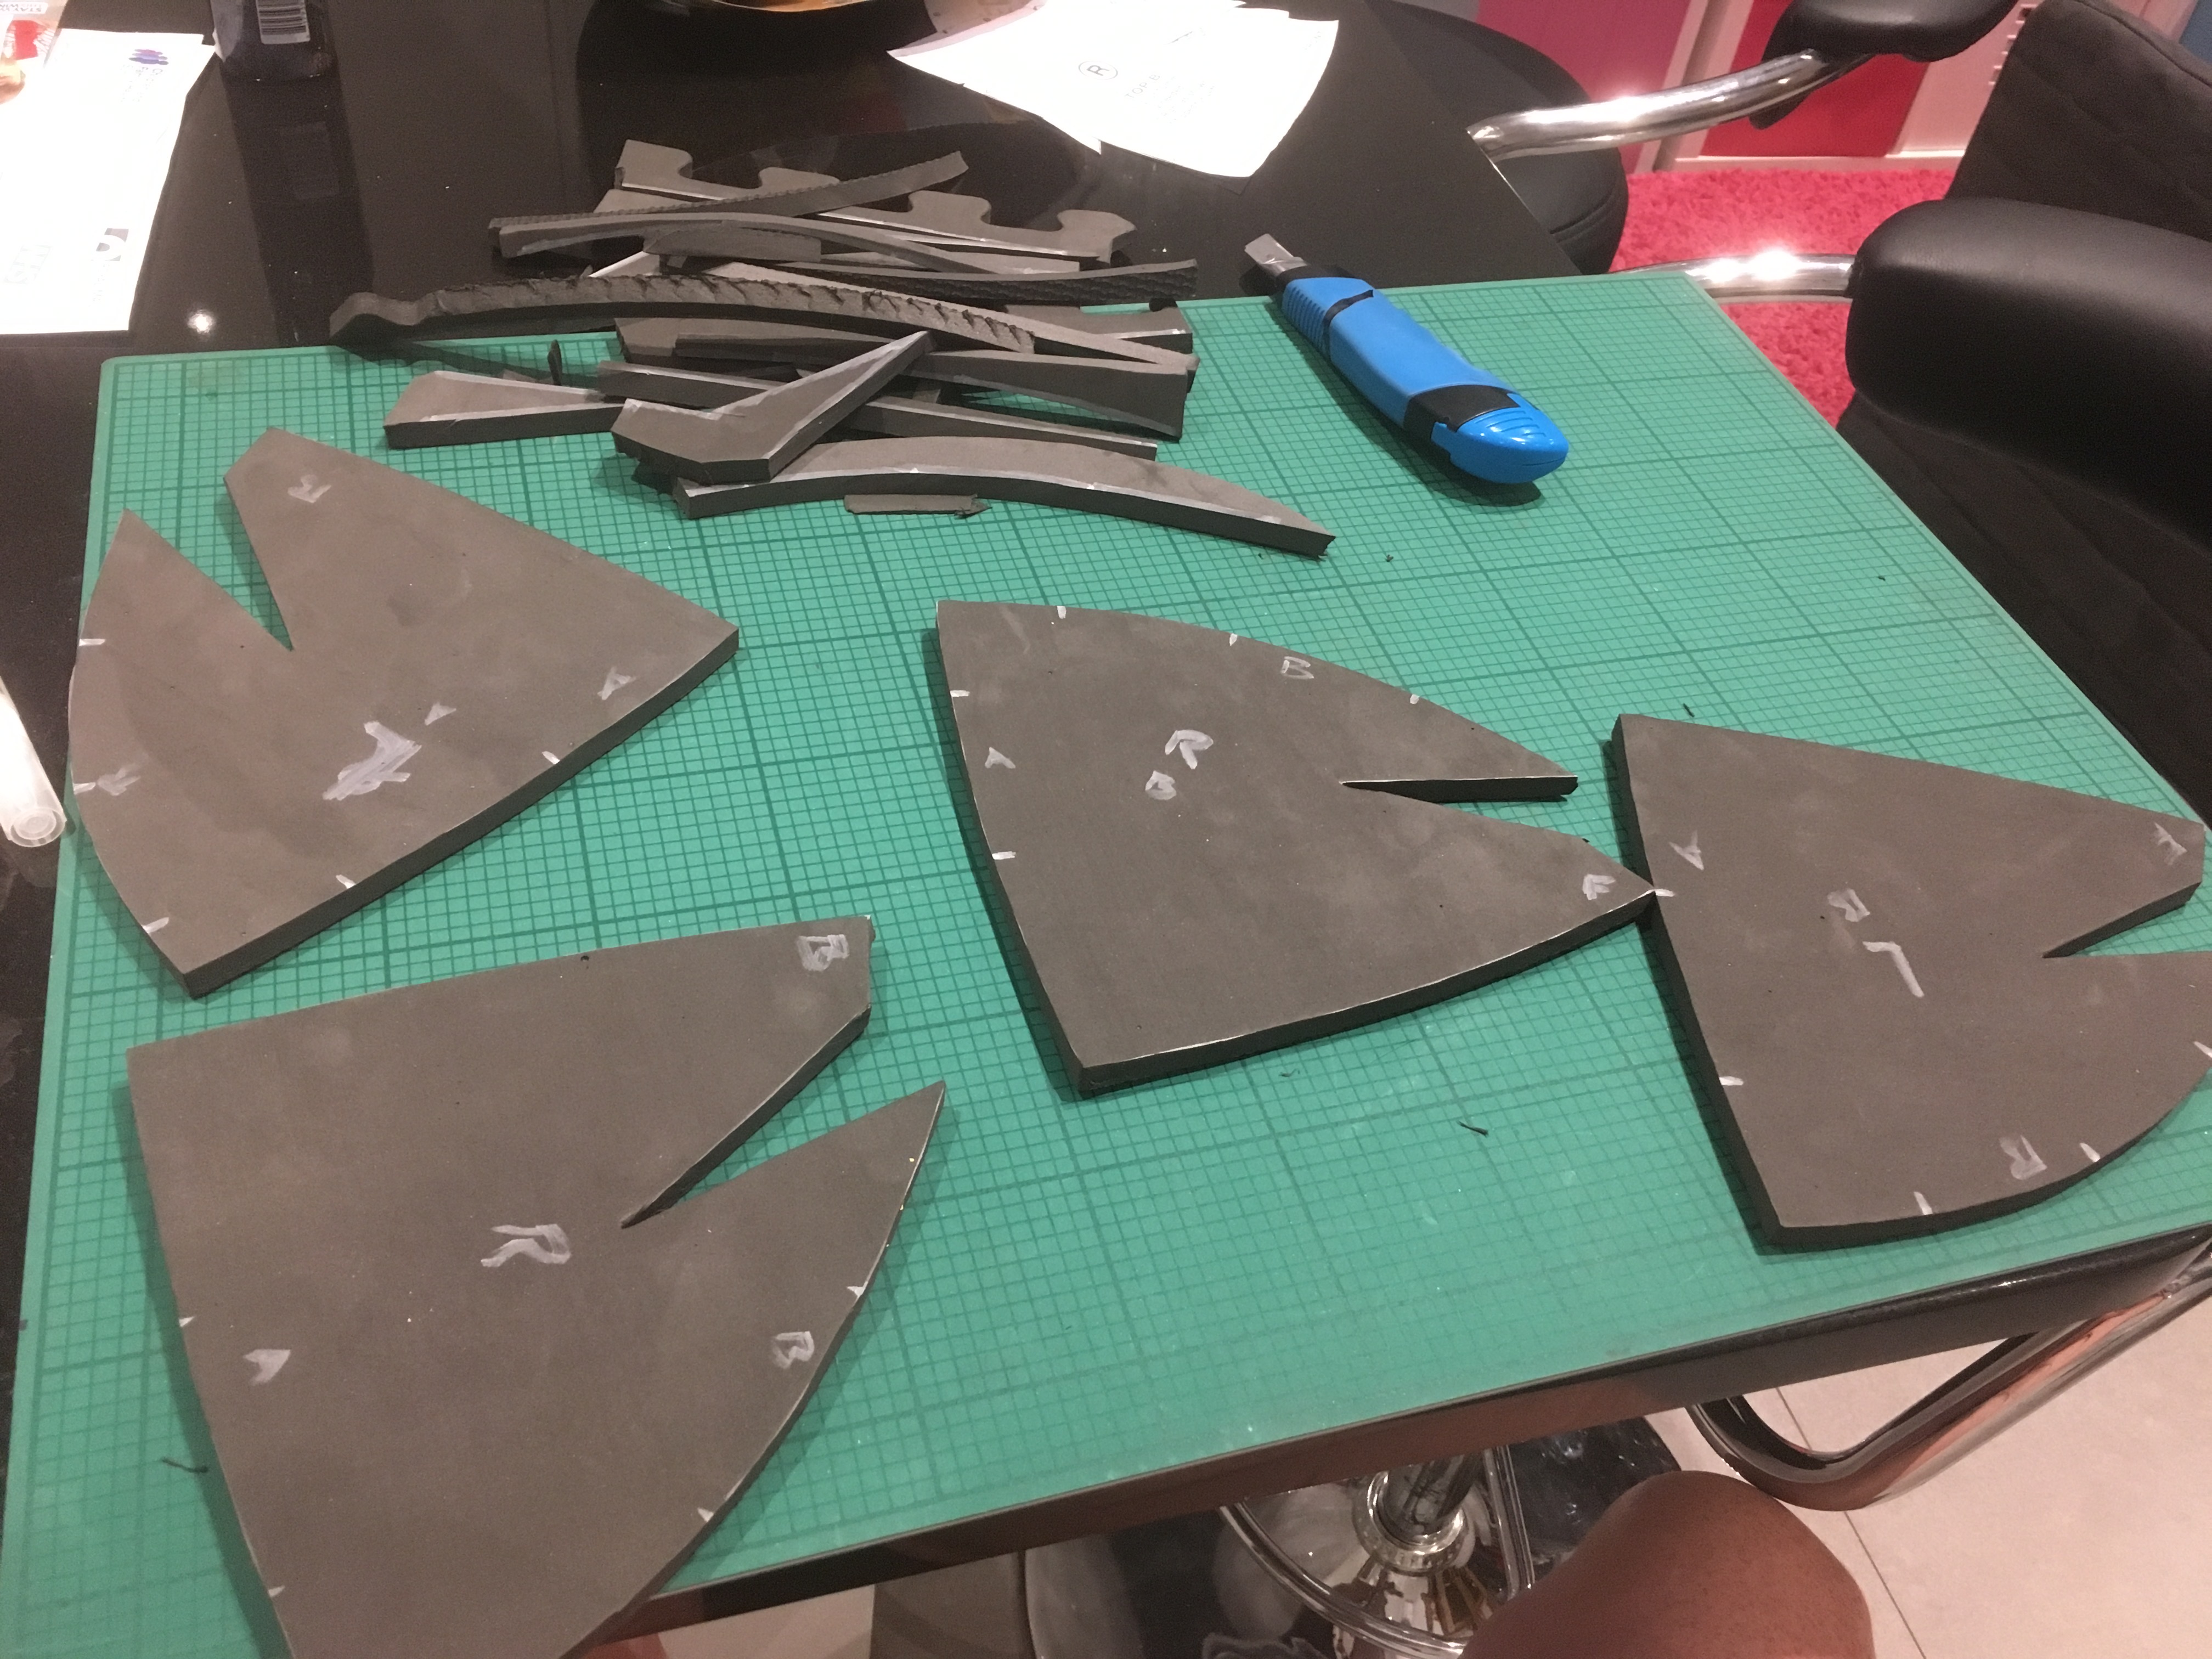
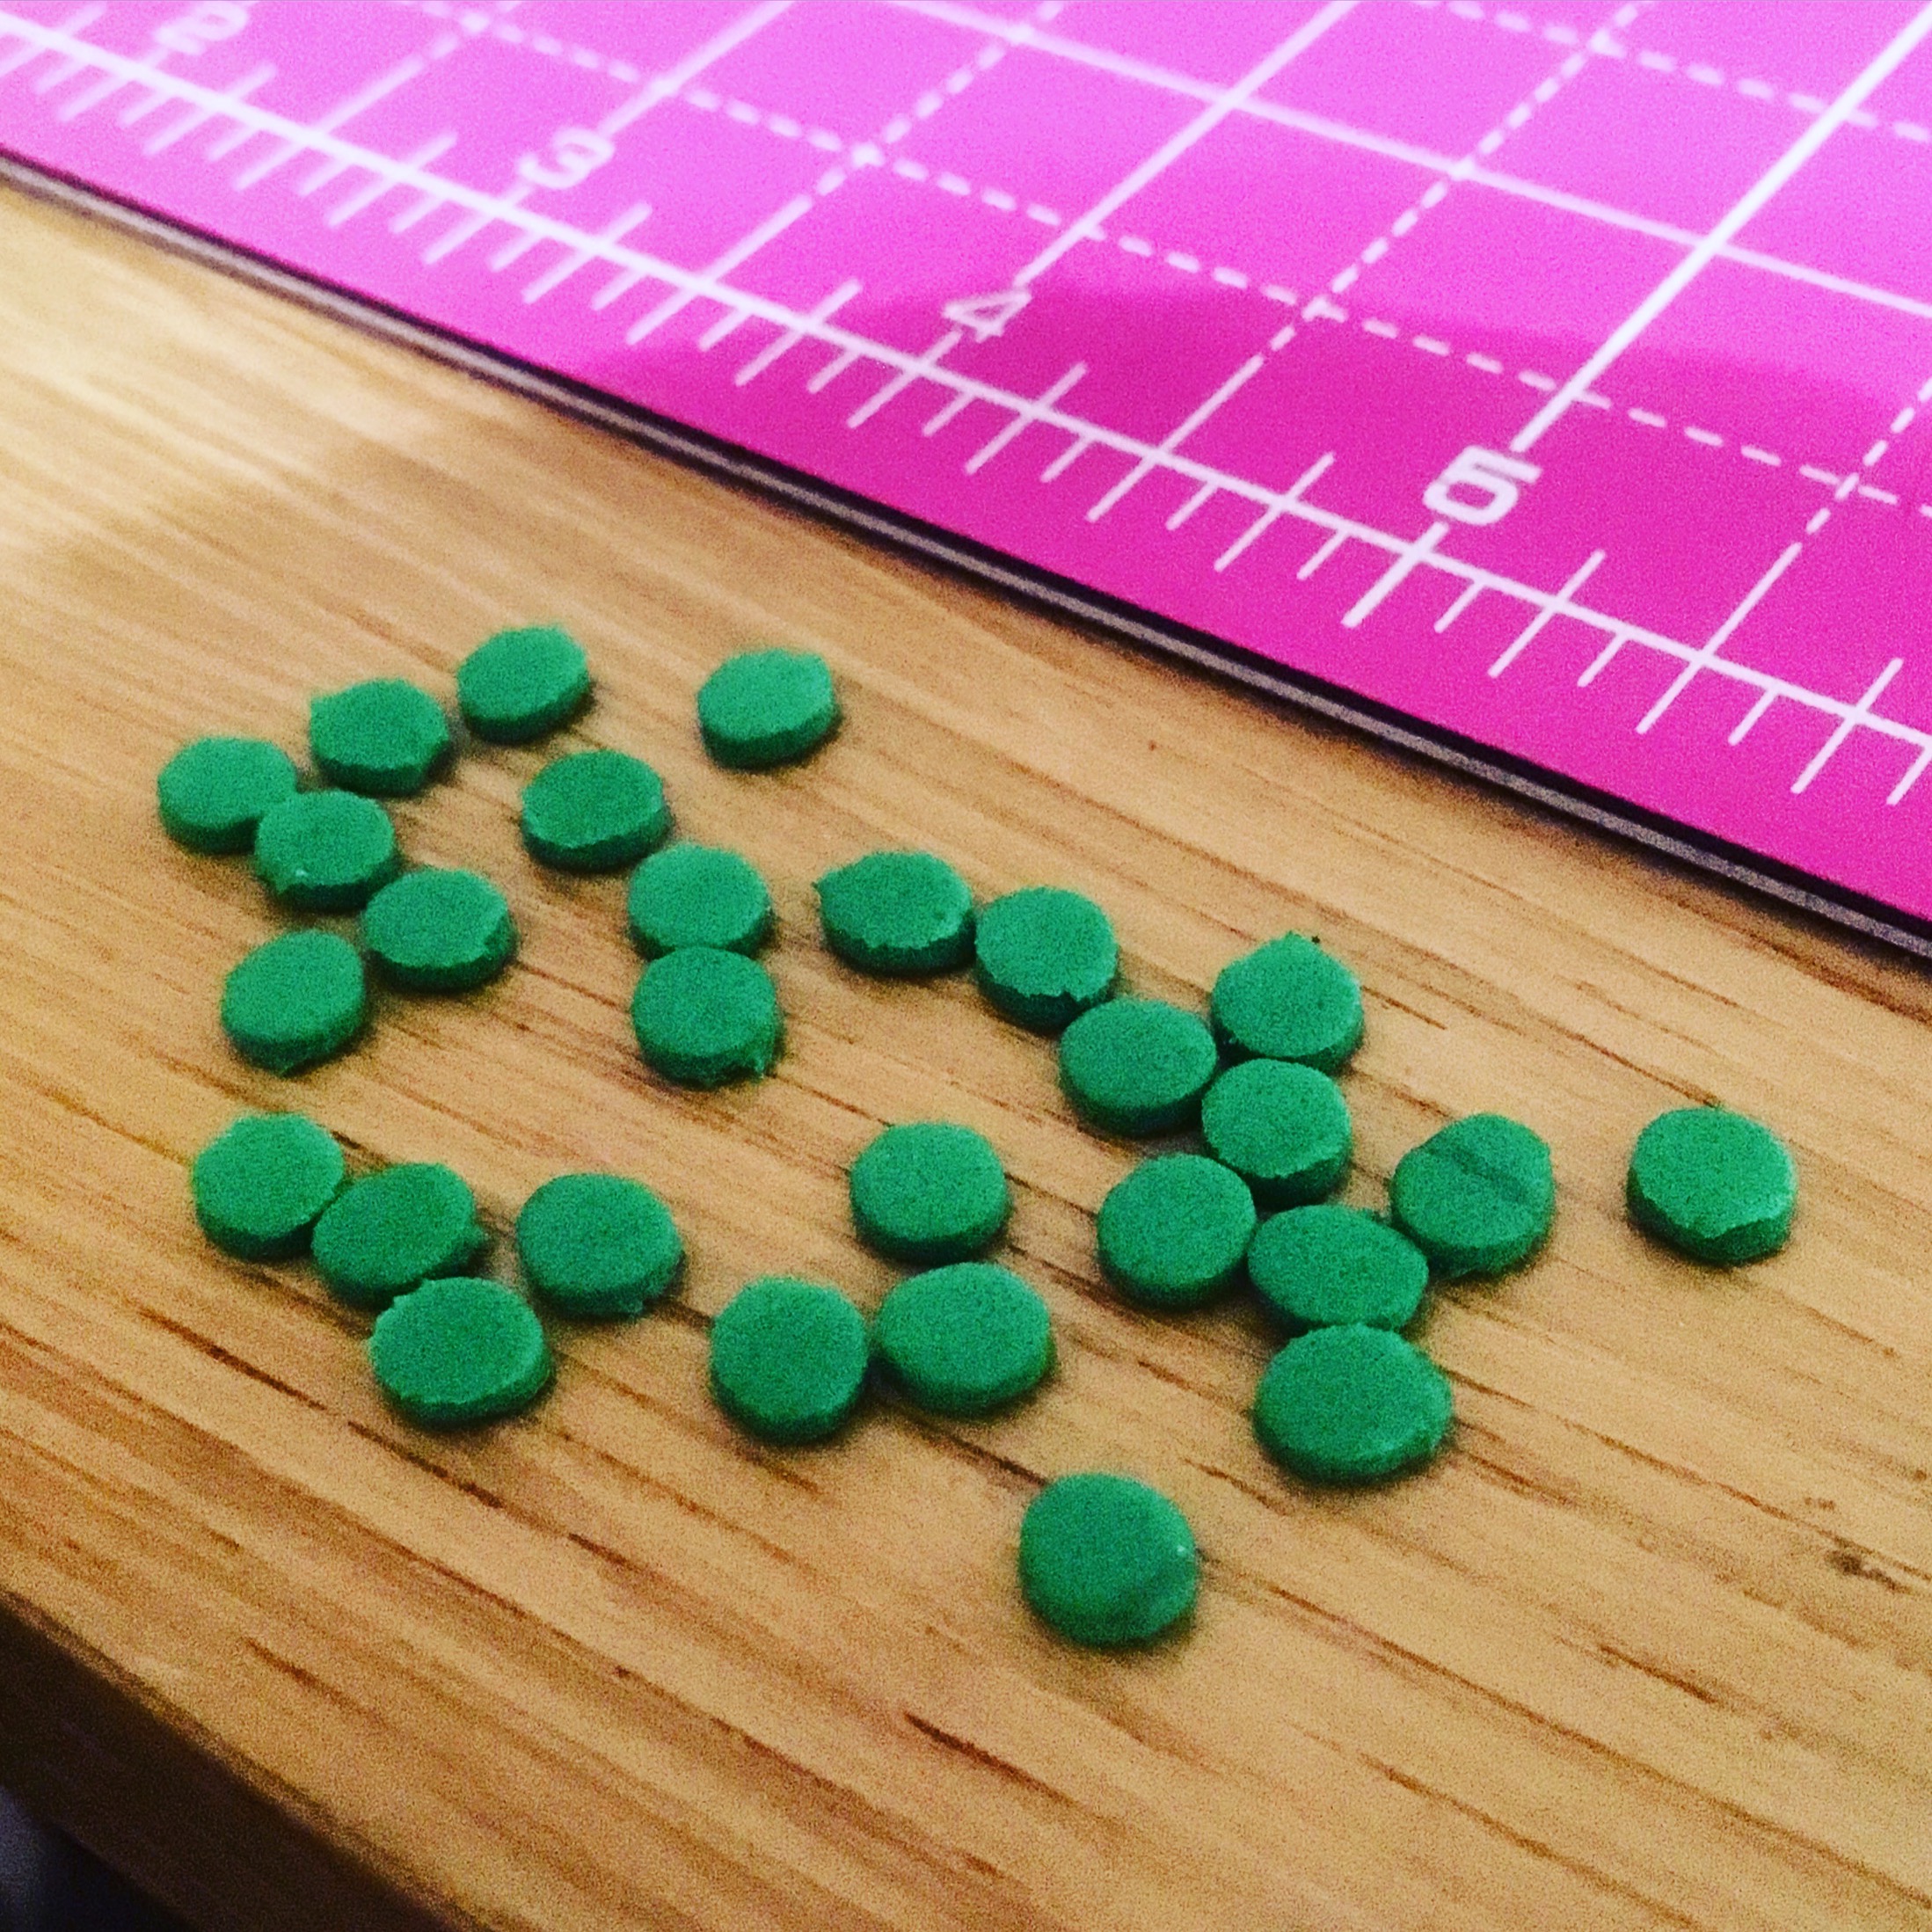
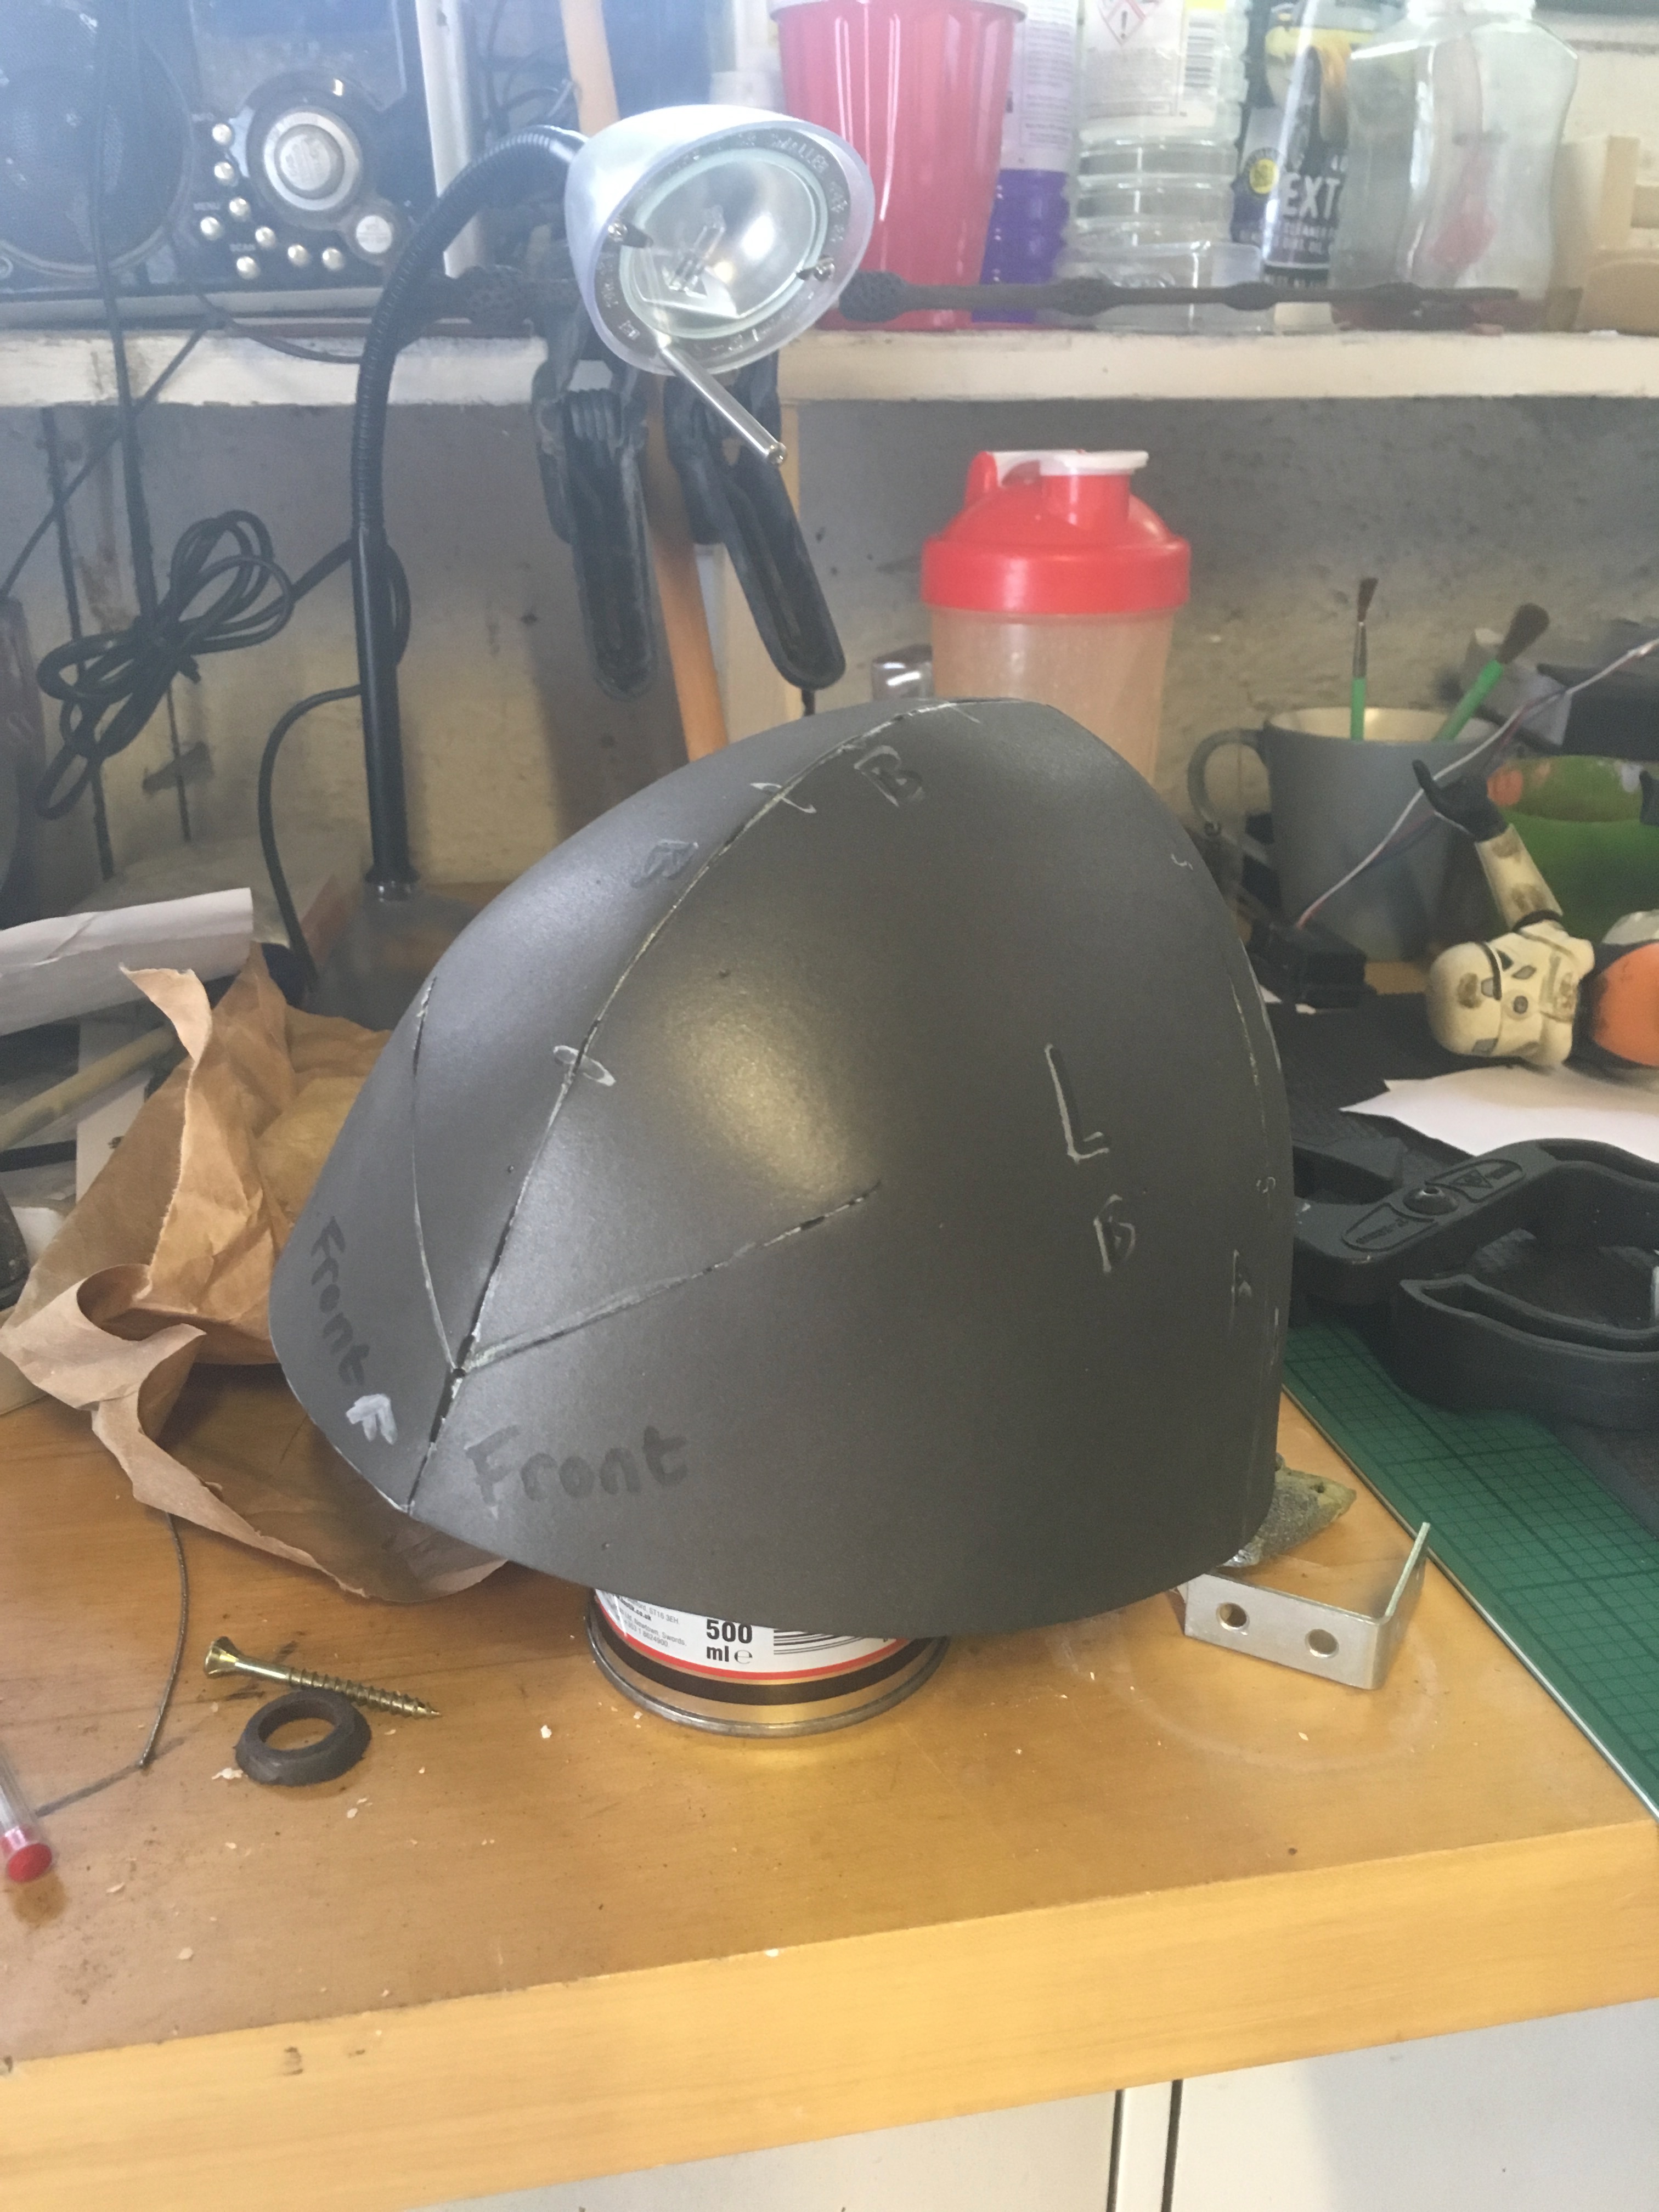
First off I made a basic cardboard template to find my feet and gauge the size for reference. This was then repeated with EVA foam floor tiles for the proper build. Thinner foam craft sheet was used to create the edging details and raised sections. The same sheet was “hole punched” and the chads used as rivets.
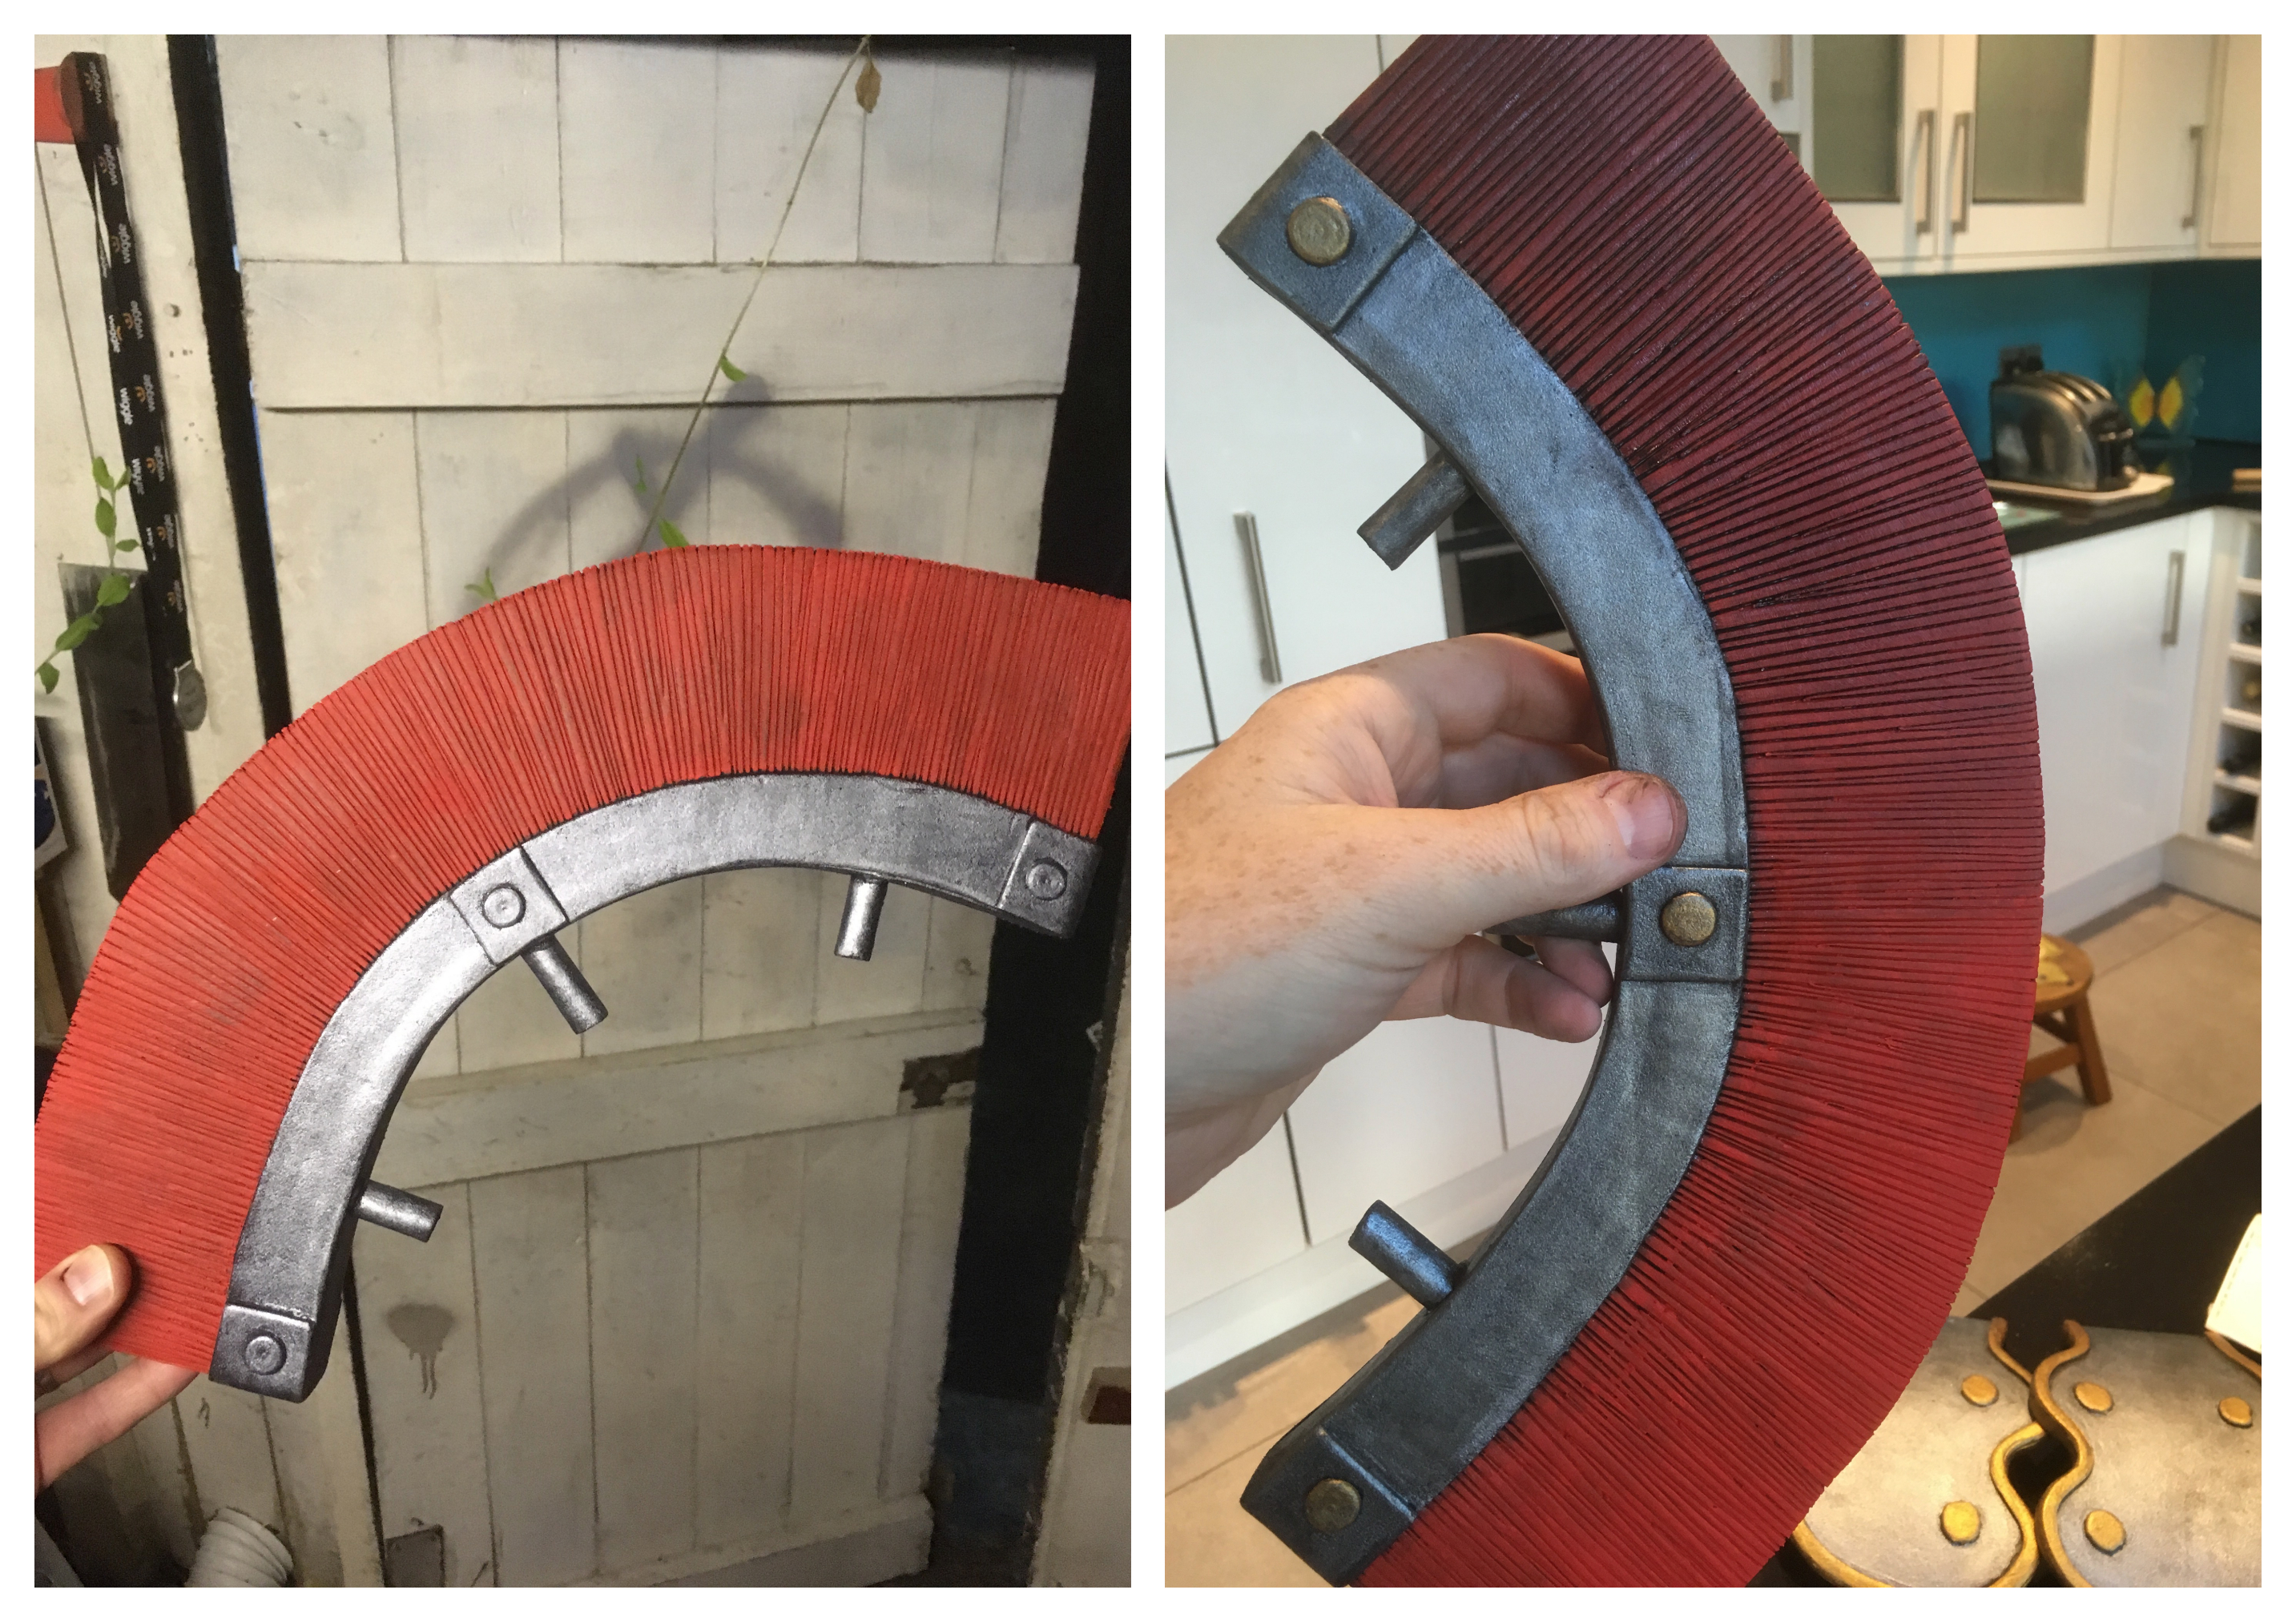
The plume was just two floor tiles stuck together for thickness and scored with a craft knife to create the “hairs’. A heat gun was used to open up these cuts and provide more details.
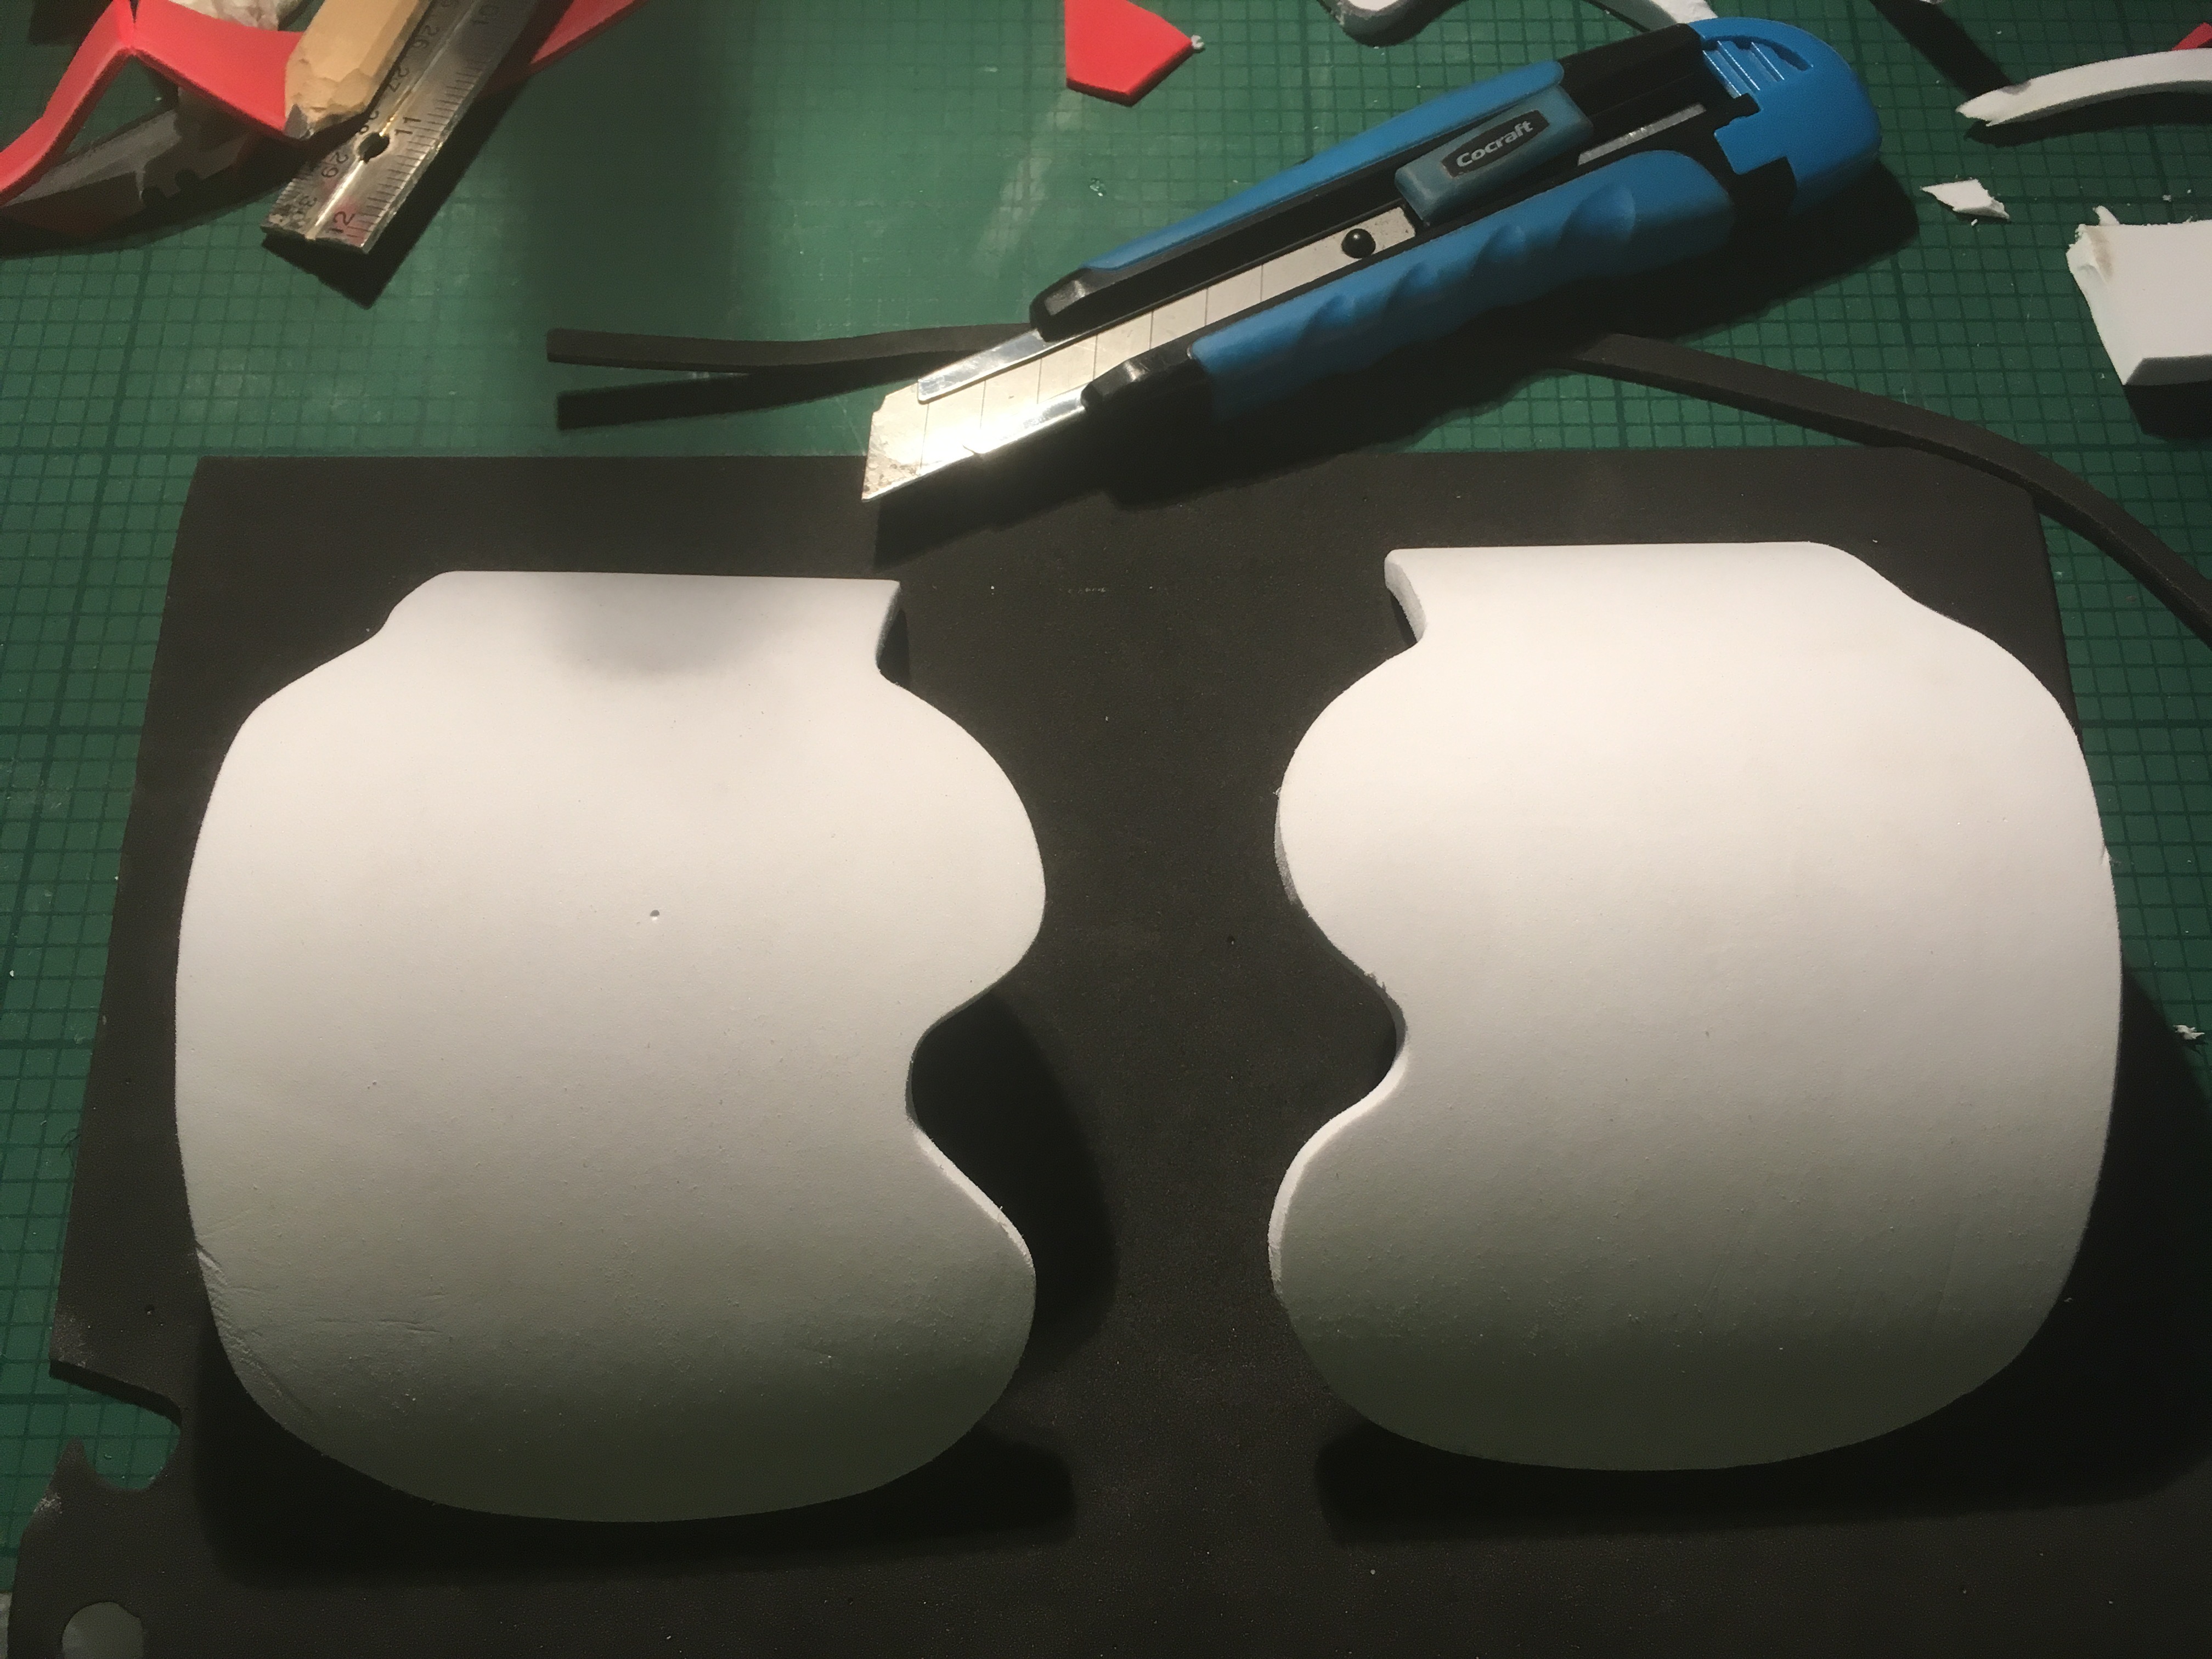
The edging once again was the craft foam. The two “wings” on the helmet were cut to their basic shape and sanded with a Dremel tool. the ears were just free hand drawn and scaled to match that of the helmet.
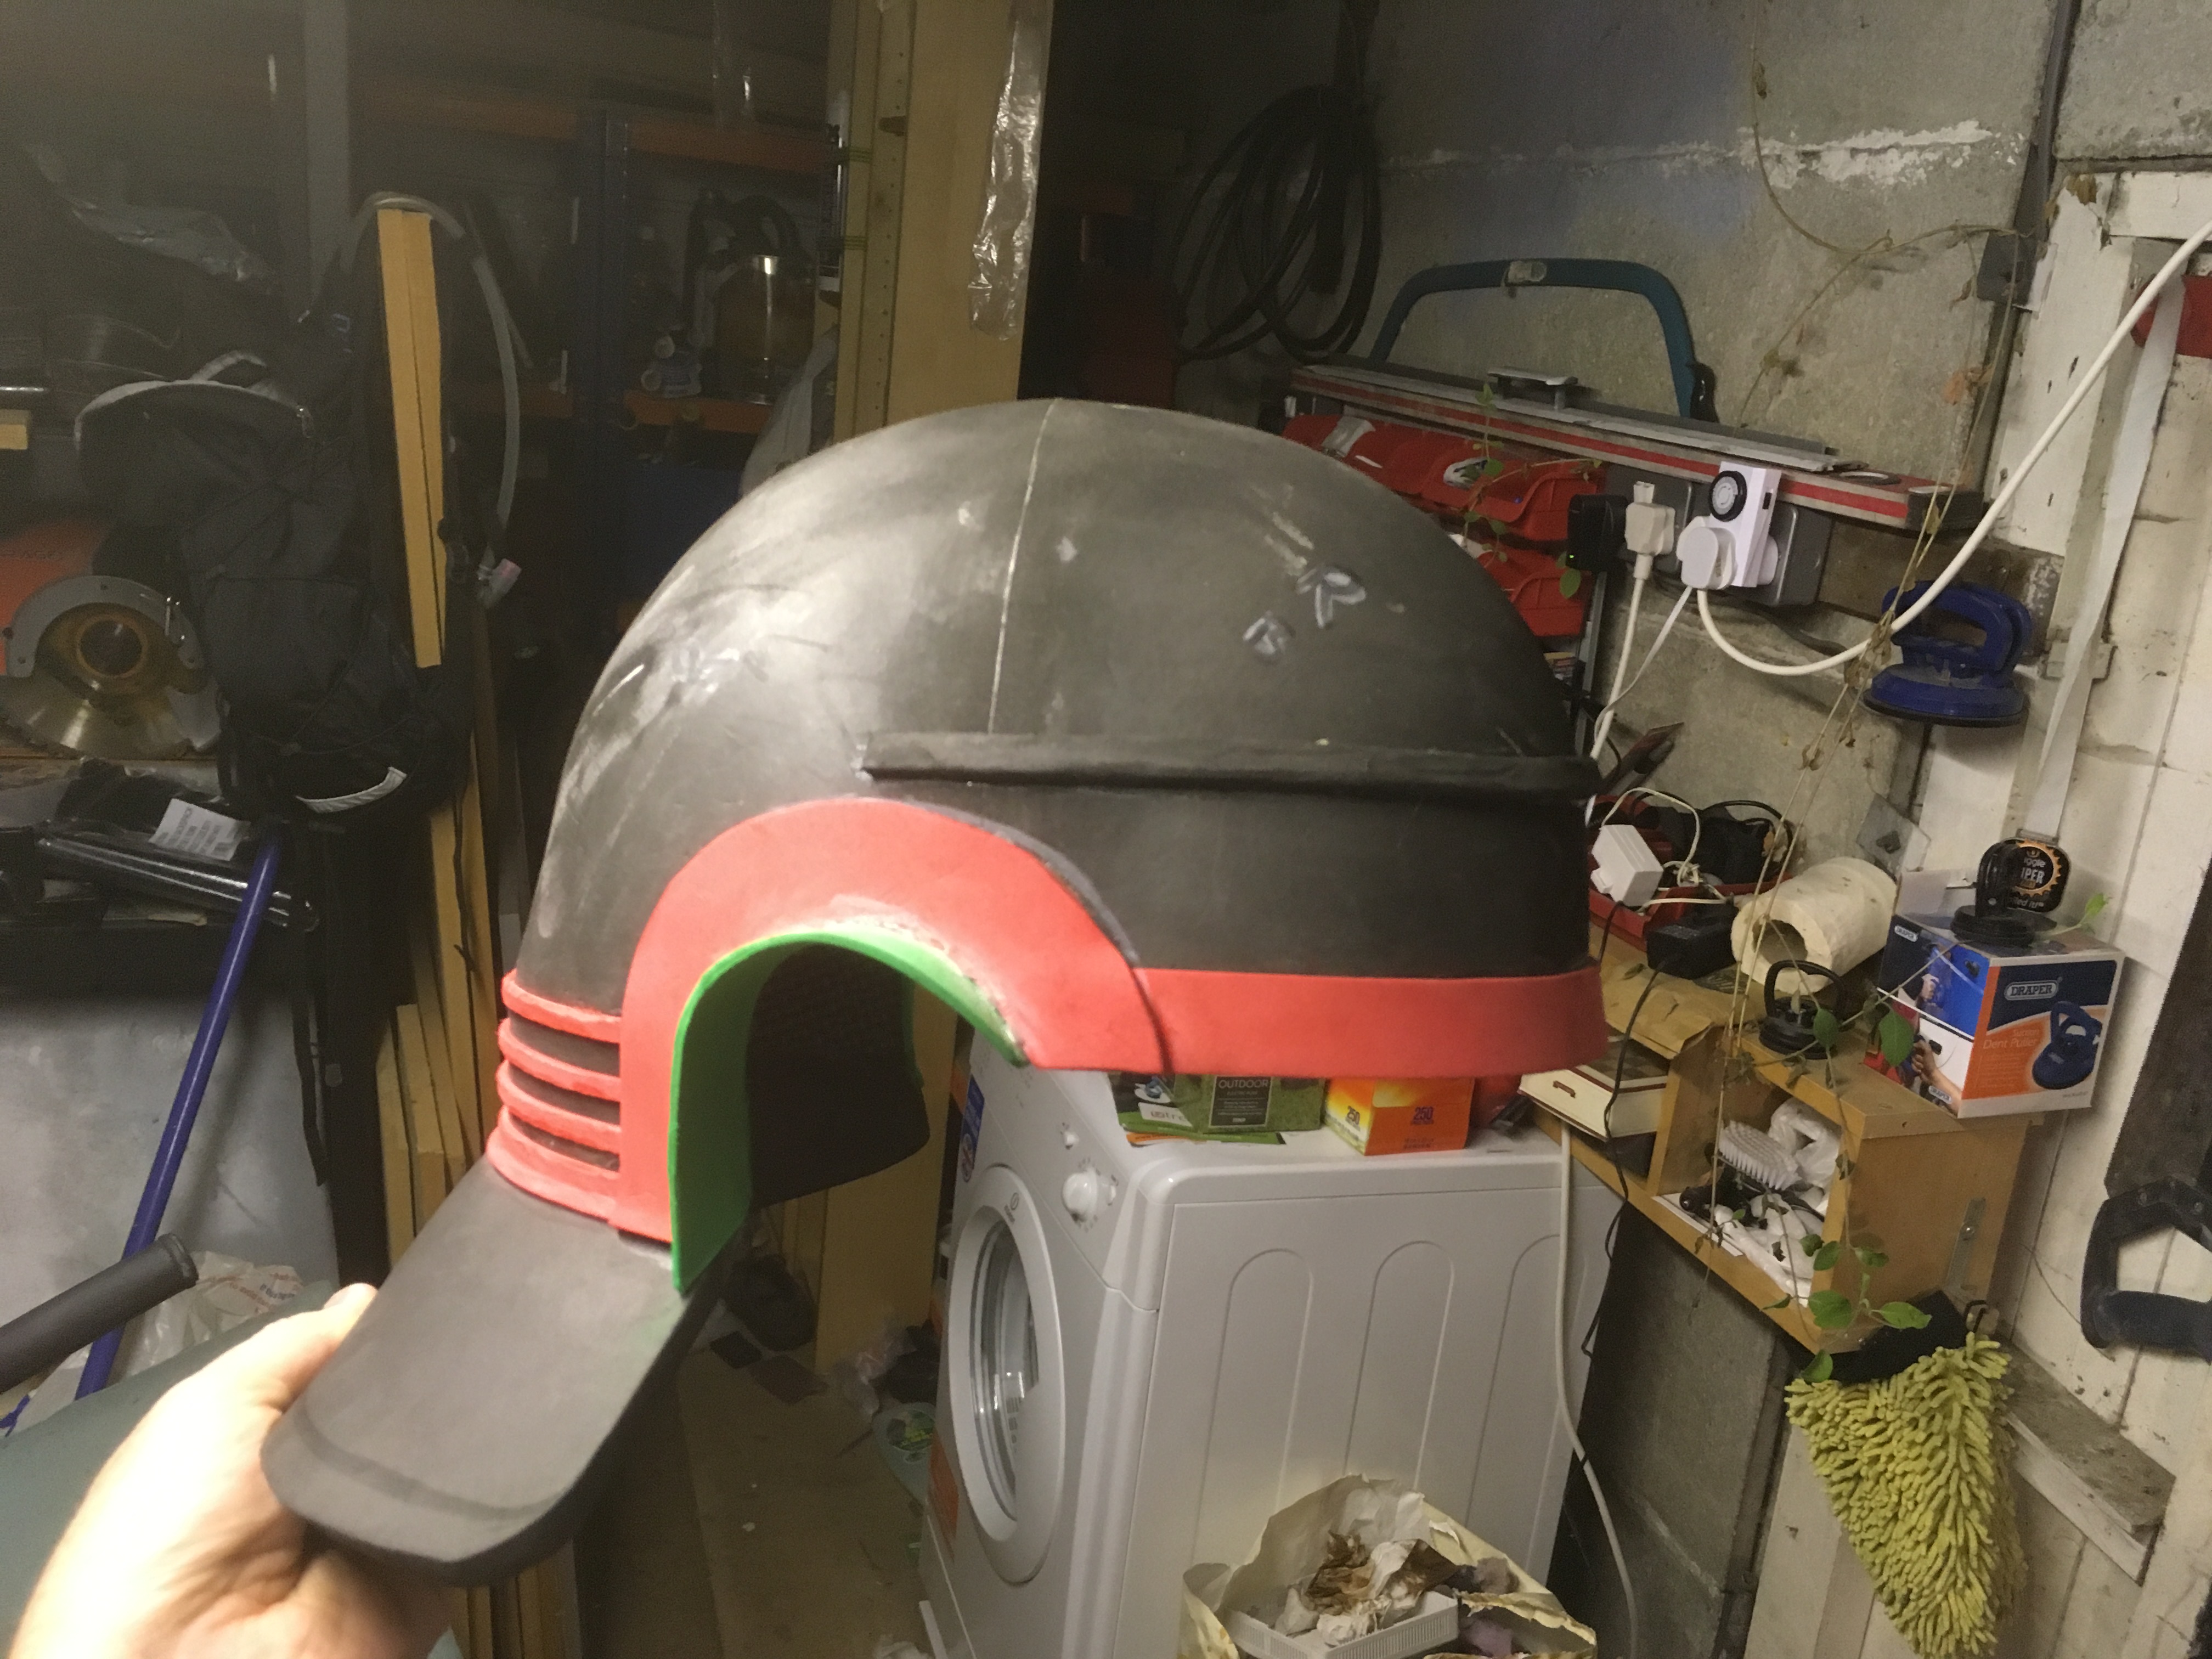
Everything was stuck using connect cement with the exception of the rivets and edging where CA glue was used.
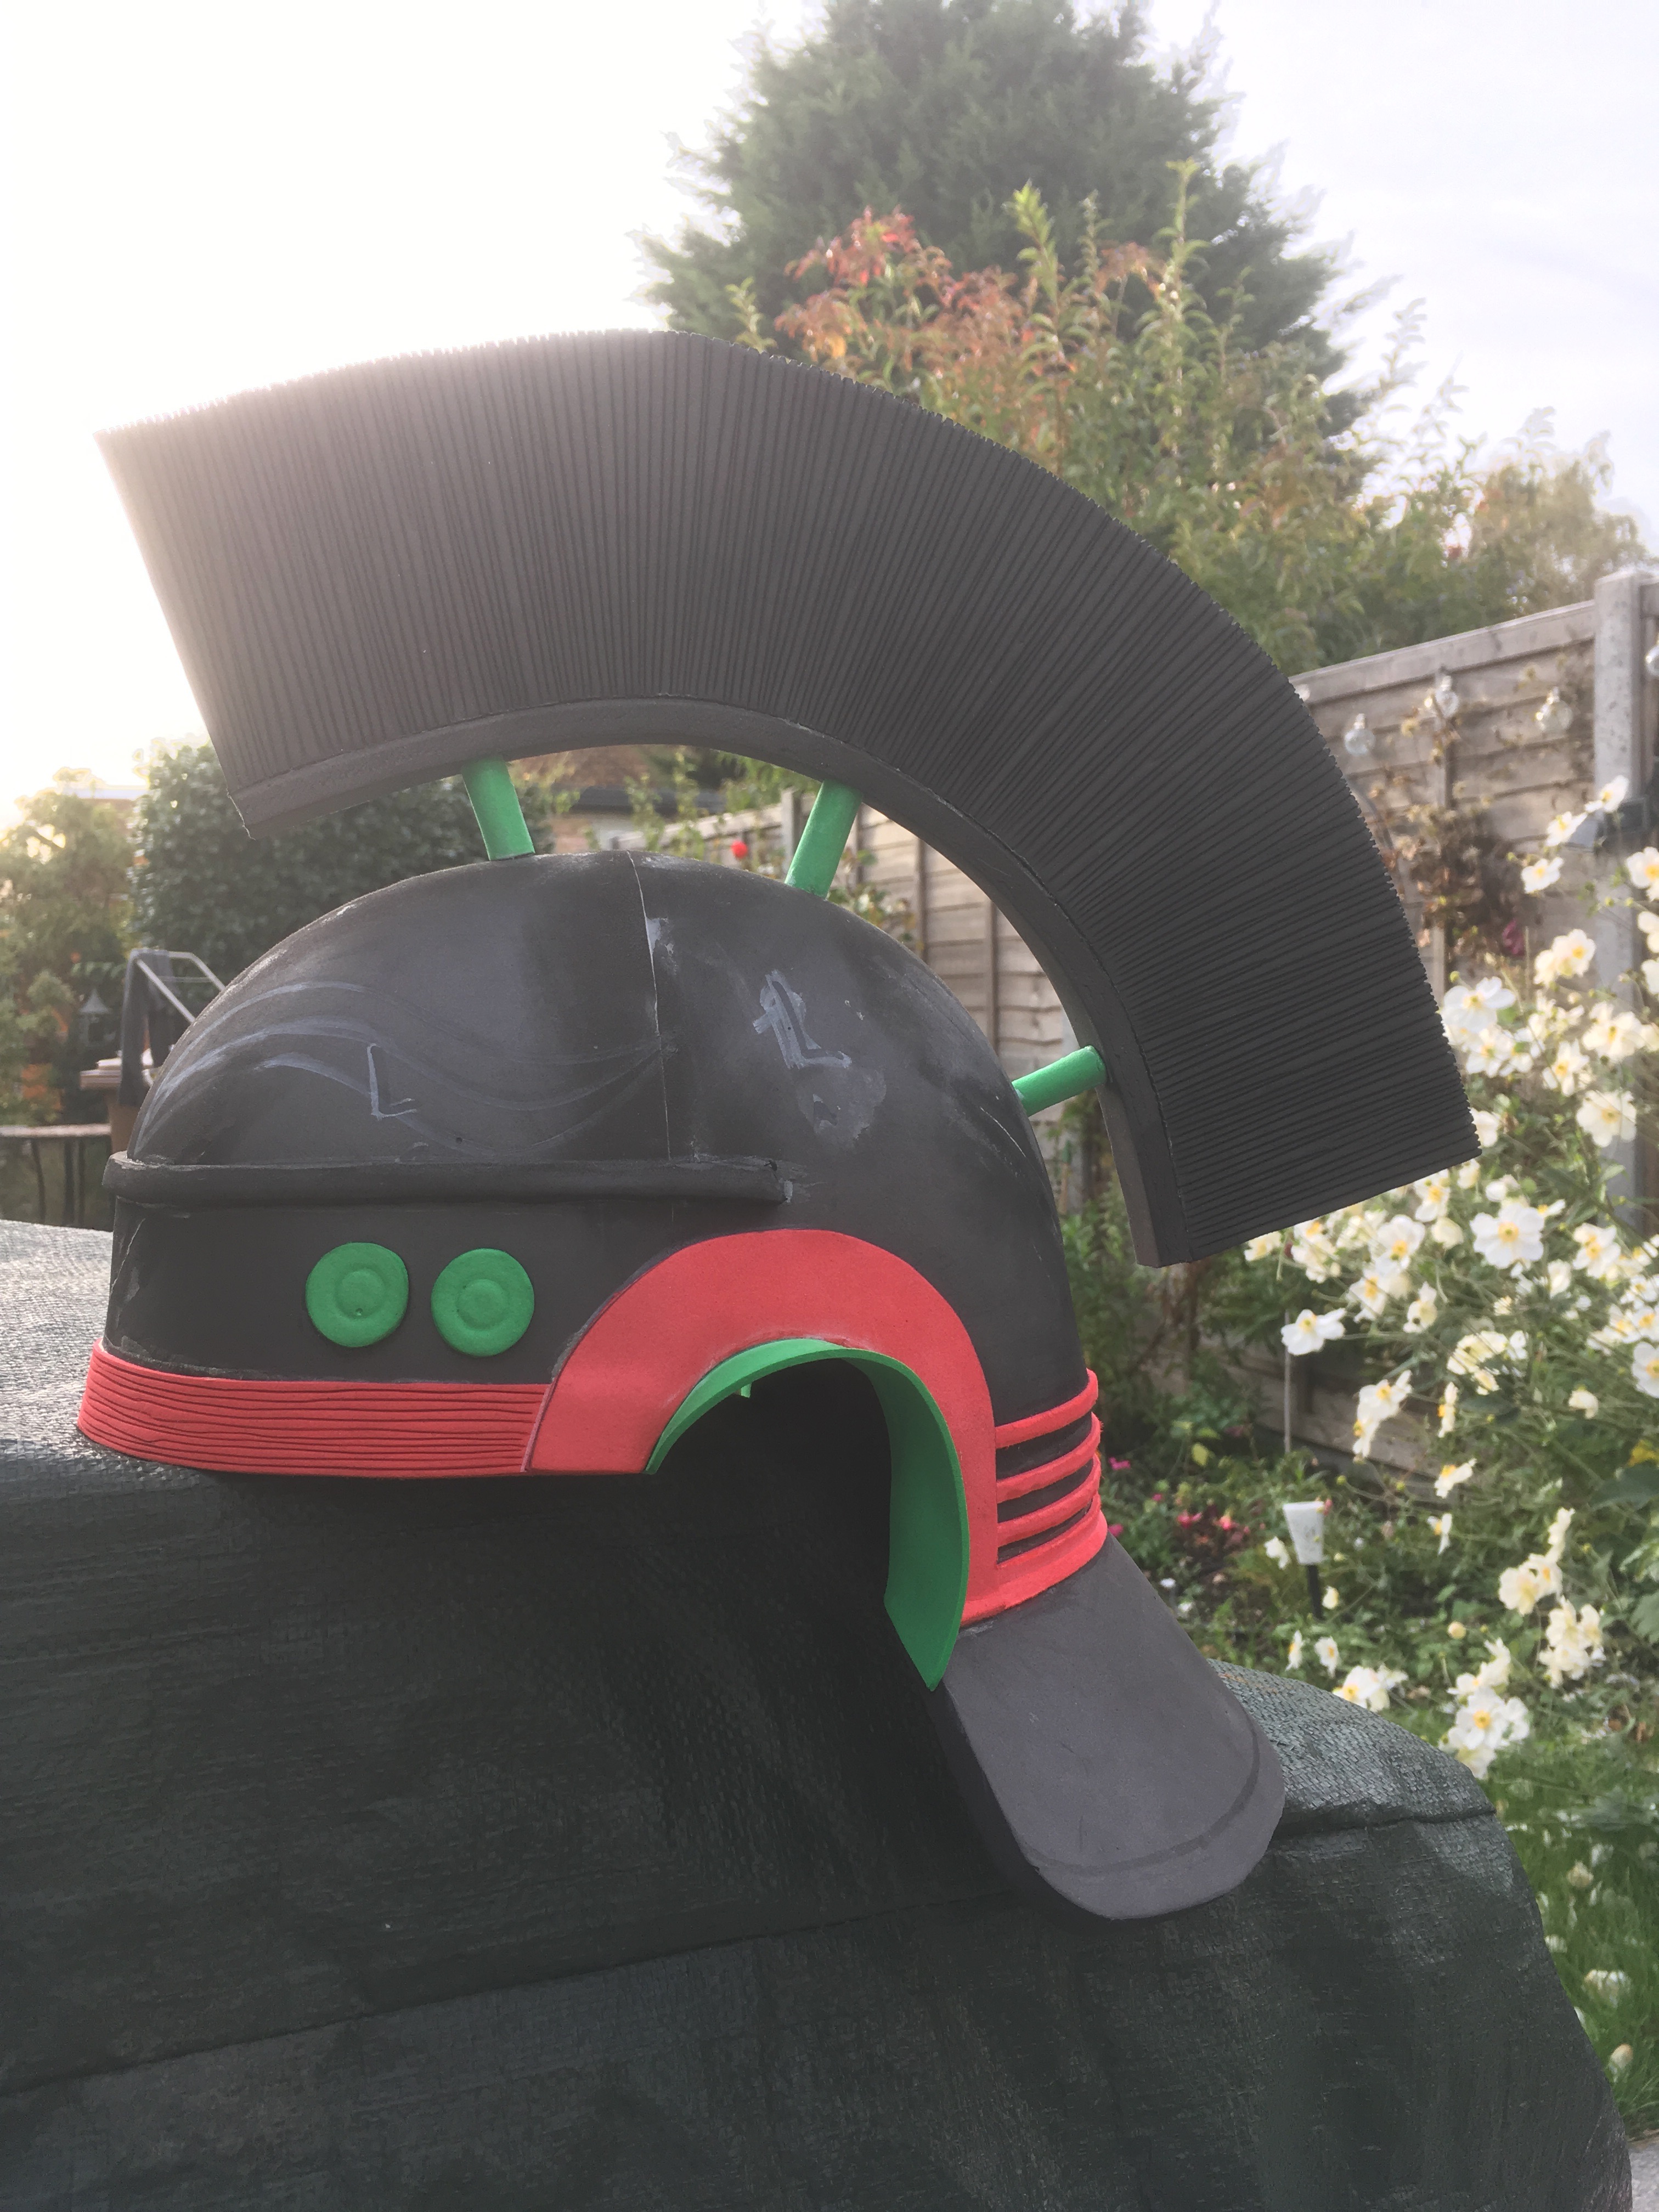
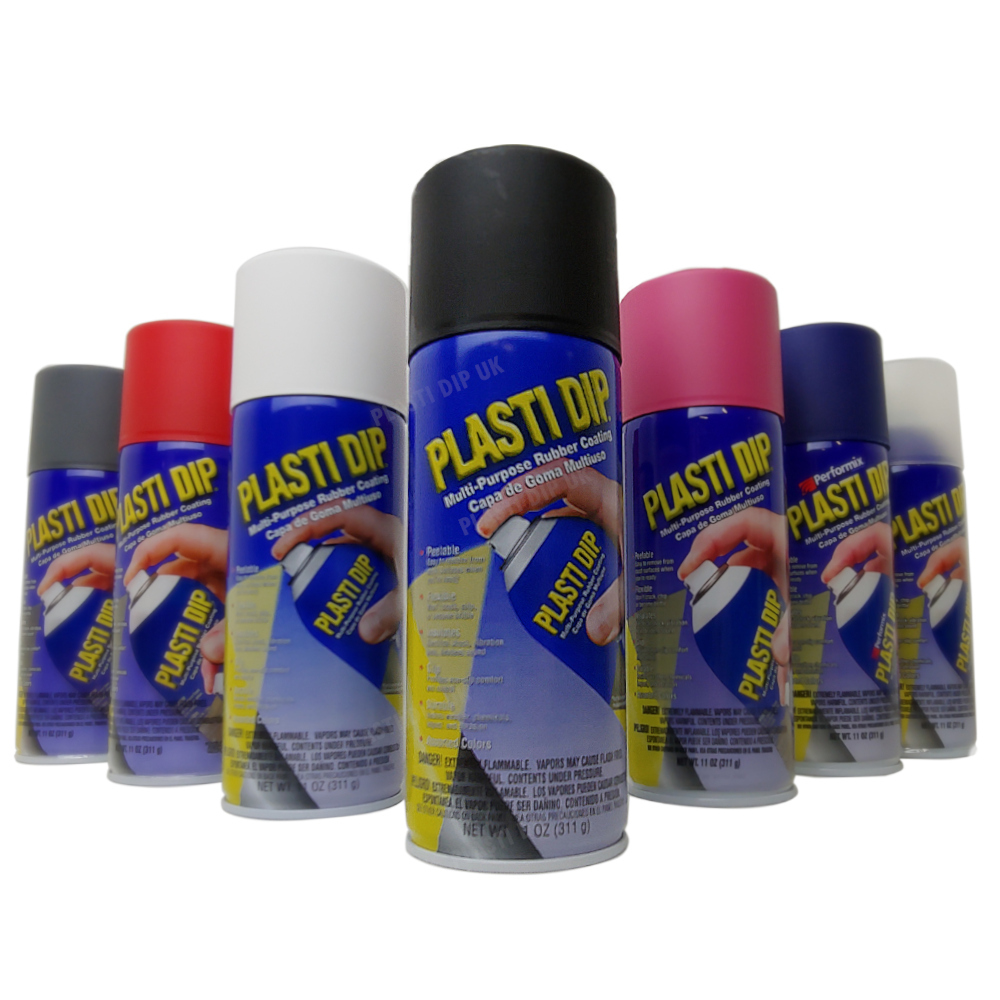
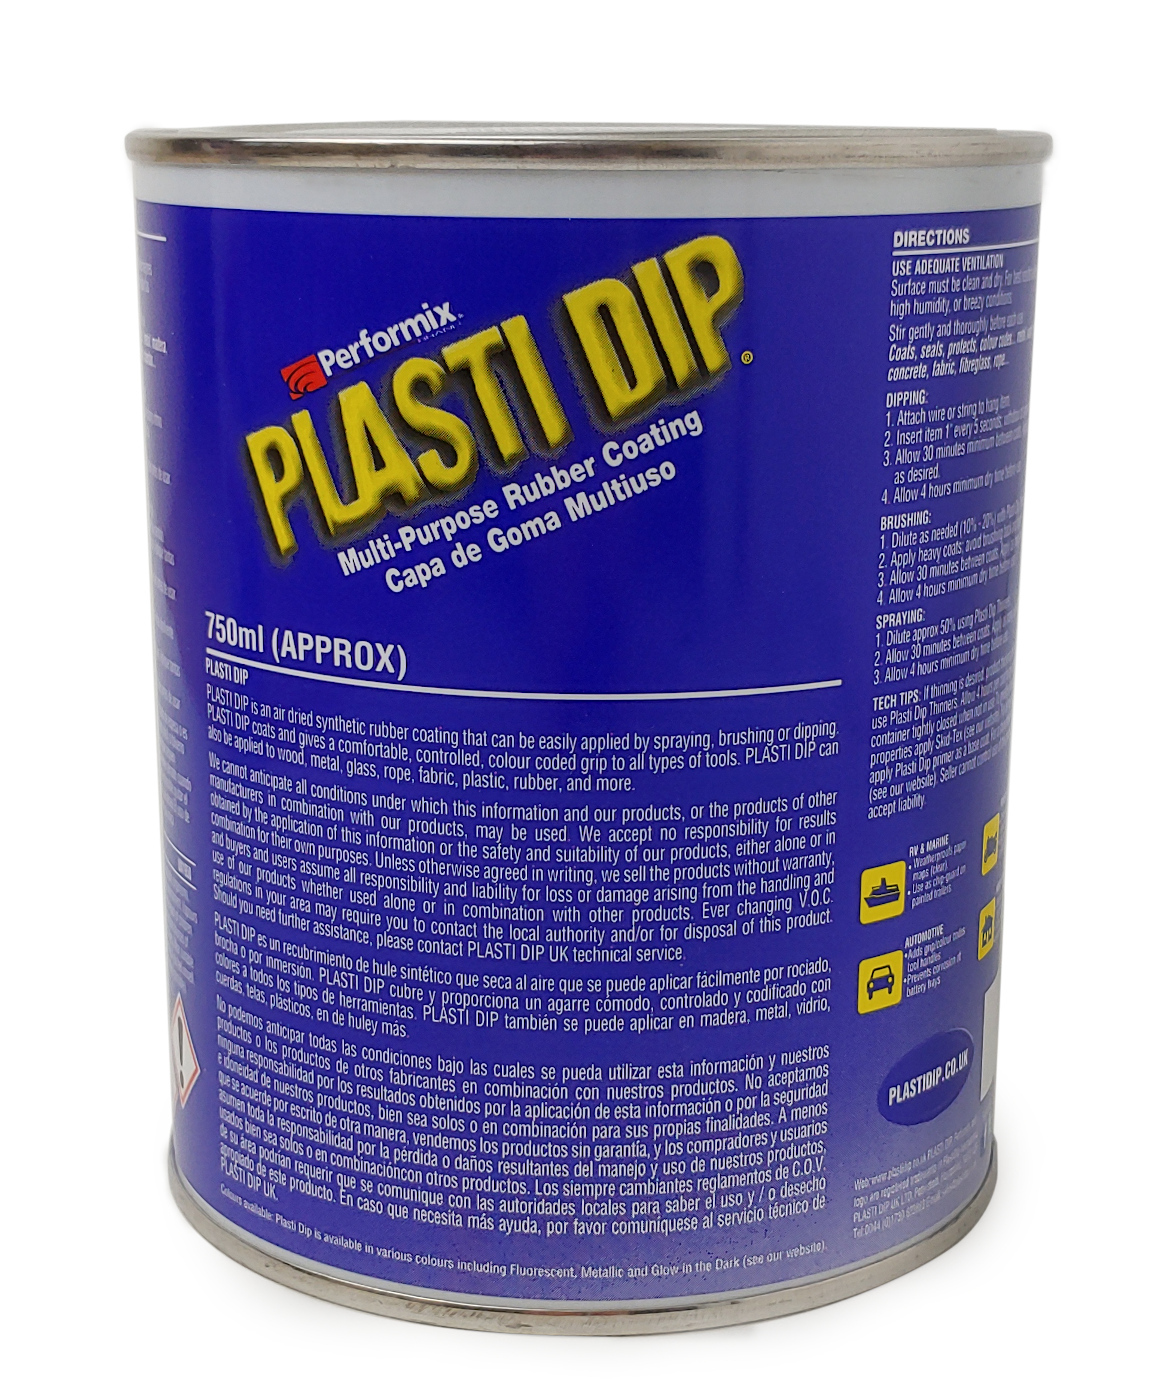
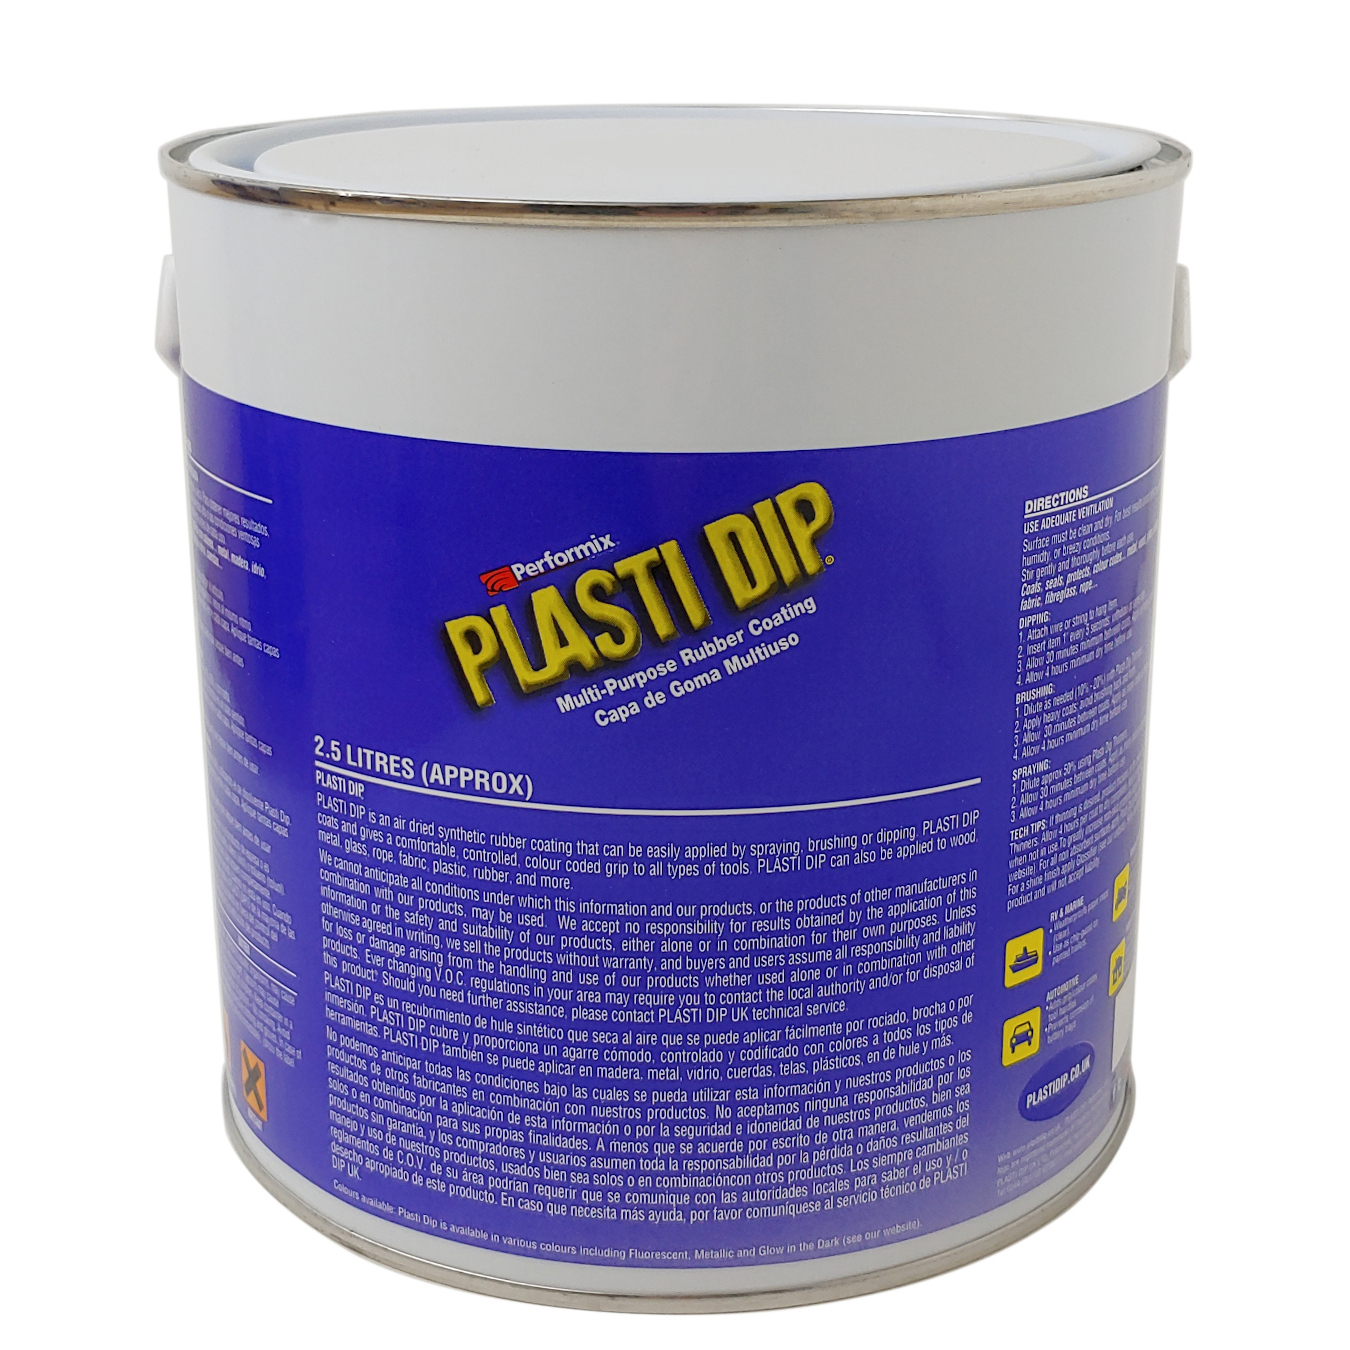
Once the construction was done the whole lot was coated with Plasti Dip. In total I think it was three coats.
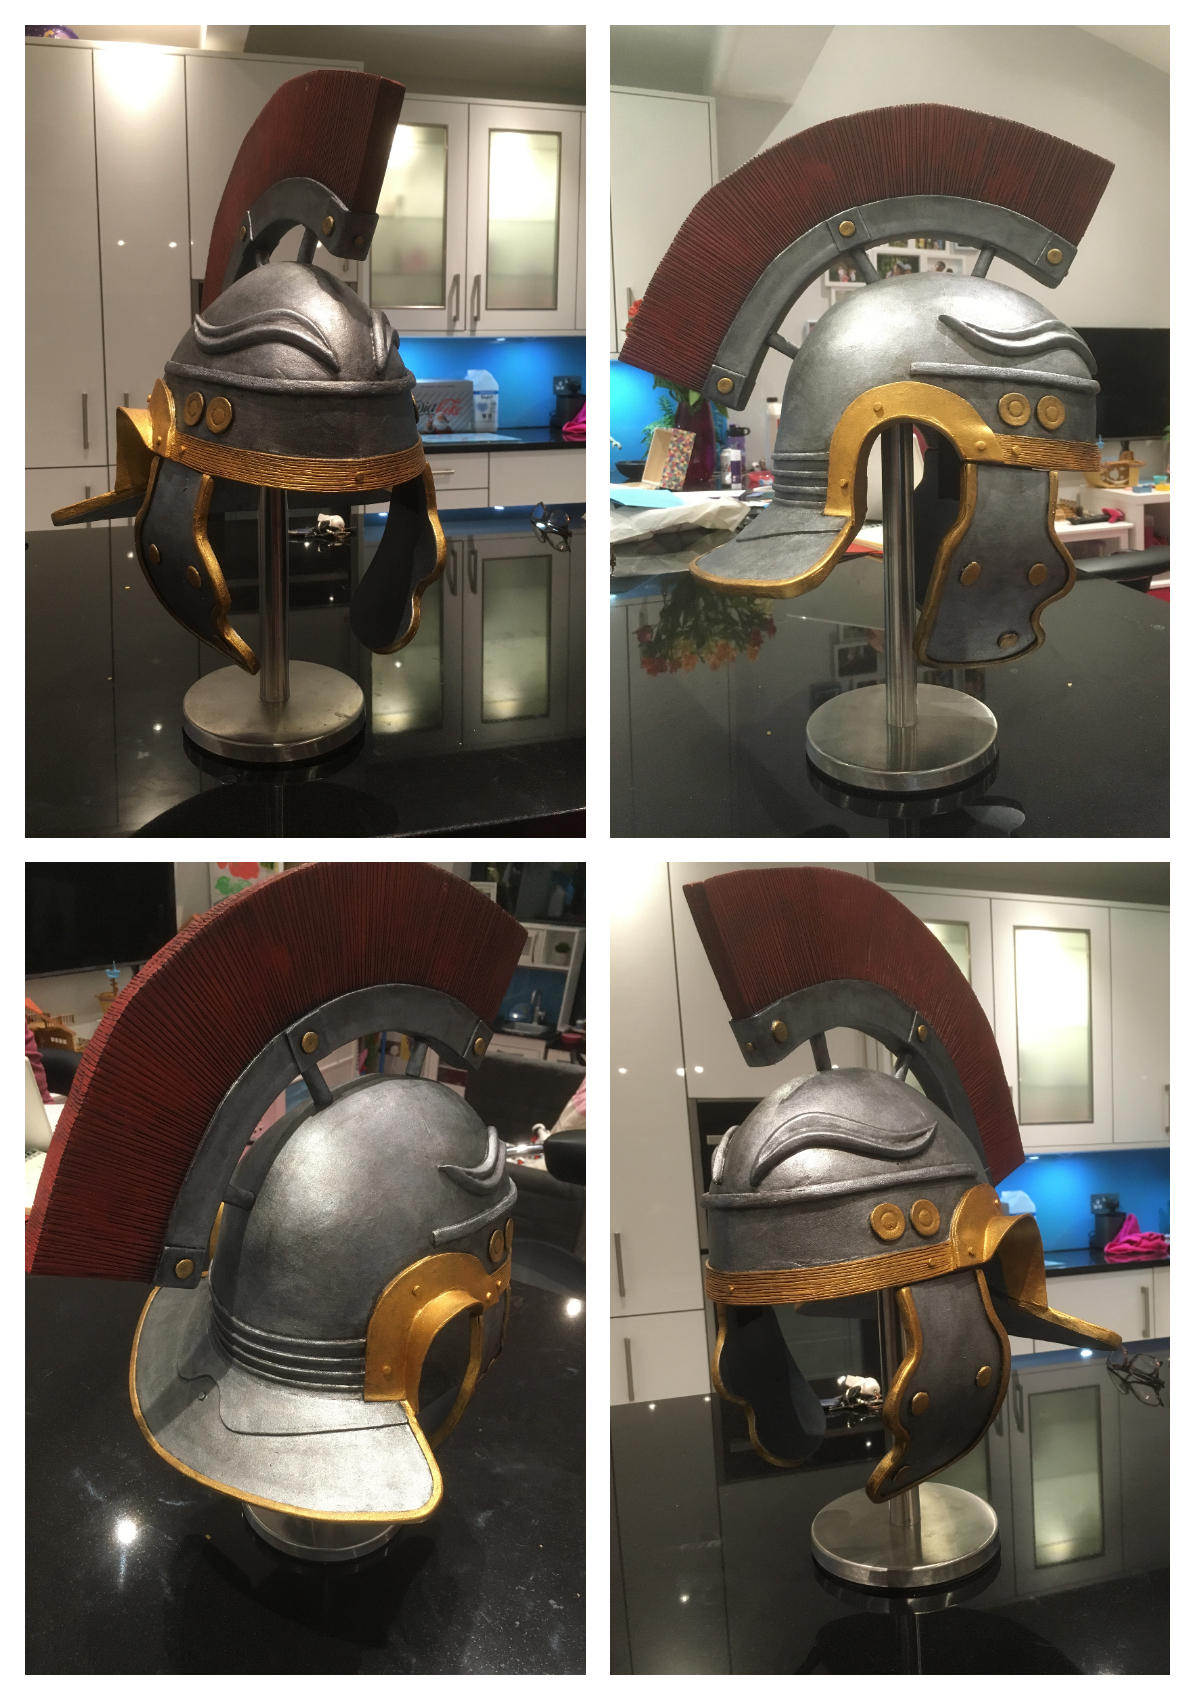
The paint job was just cheap acrylic paint I got from The Works – nothing special at all. A base coat was applied with a sponge brush to avoid brush strokes and the additional coats were a blend of paints depending on what the focus was – shadows, highlights etc..
The final bit was to coat with a matt clear coat to seal everything and give the paint a bit of protection.
Is there anything you’d do differently next time, or any advice for anyone attempting a project like this for the first time?
I’m not sure there is anything I would particularly change as such but I learnt a lot in that first project that maybe you only gain by doing it. For anyone thinking of giving this a try, I would say go for it!
Whilst I’d advise to watch the videos before starting that can be quite daunting as everything looks so easy and the end results so good. It may also seem that you need to invest quite a bit before starting but this is not necessarily the case. This can all be done on quite a small budget so there isn’t a massive outlay upfront. You do not need every tool under the sun – I had a knife, foam, cutting board and glue when I started, getting anything else as and when I needed it.

On the practical side, its a case of just giving it a go. Don’t worry about getting it wrong and remember you are looking at it from really close up and most of the time its not going to be viewed in that way. The result will not be perfect and that is fine; it doesn’t need to be – the foam is quite forgiving as it can be sanded or filled.
Taking your time is the best advise I can give and above all else have fun.
What are you going to do with the helmet now it’s finished?
?The Helmet is currently with the school where they have used it as a reference tool as part of the project. I think it is also being used as a reward for good behaviour and work, with the children allowed to wear it for certain periods of time. I may well let the school have it for future classes as it has gone down so well. As much as I would love to keep it as it is my first build, it is a bit big and impractical with the plume so I figure its far better to give away.
What’s your next project?
I have been asked to create 4 viking helmets for my daughters and their buddies. These should be a little more practical and balanced for them to play about with.
Whilst true viking helmets never had horns, I may add some for the little ones so they are extra special. I’ve also been asked for axes, swords and a host of other things so it appears I have my work cut out for me.